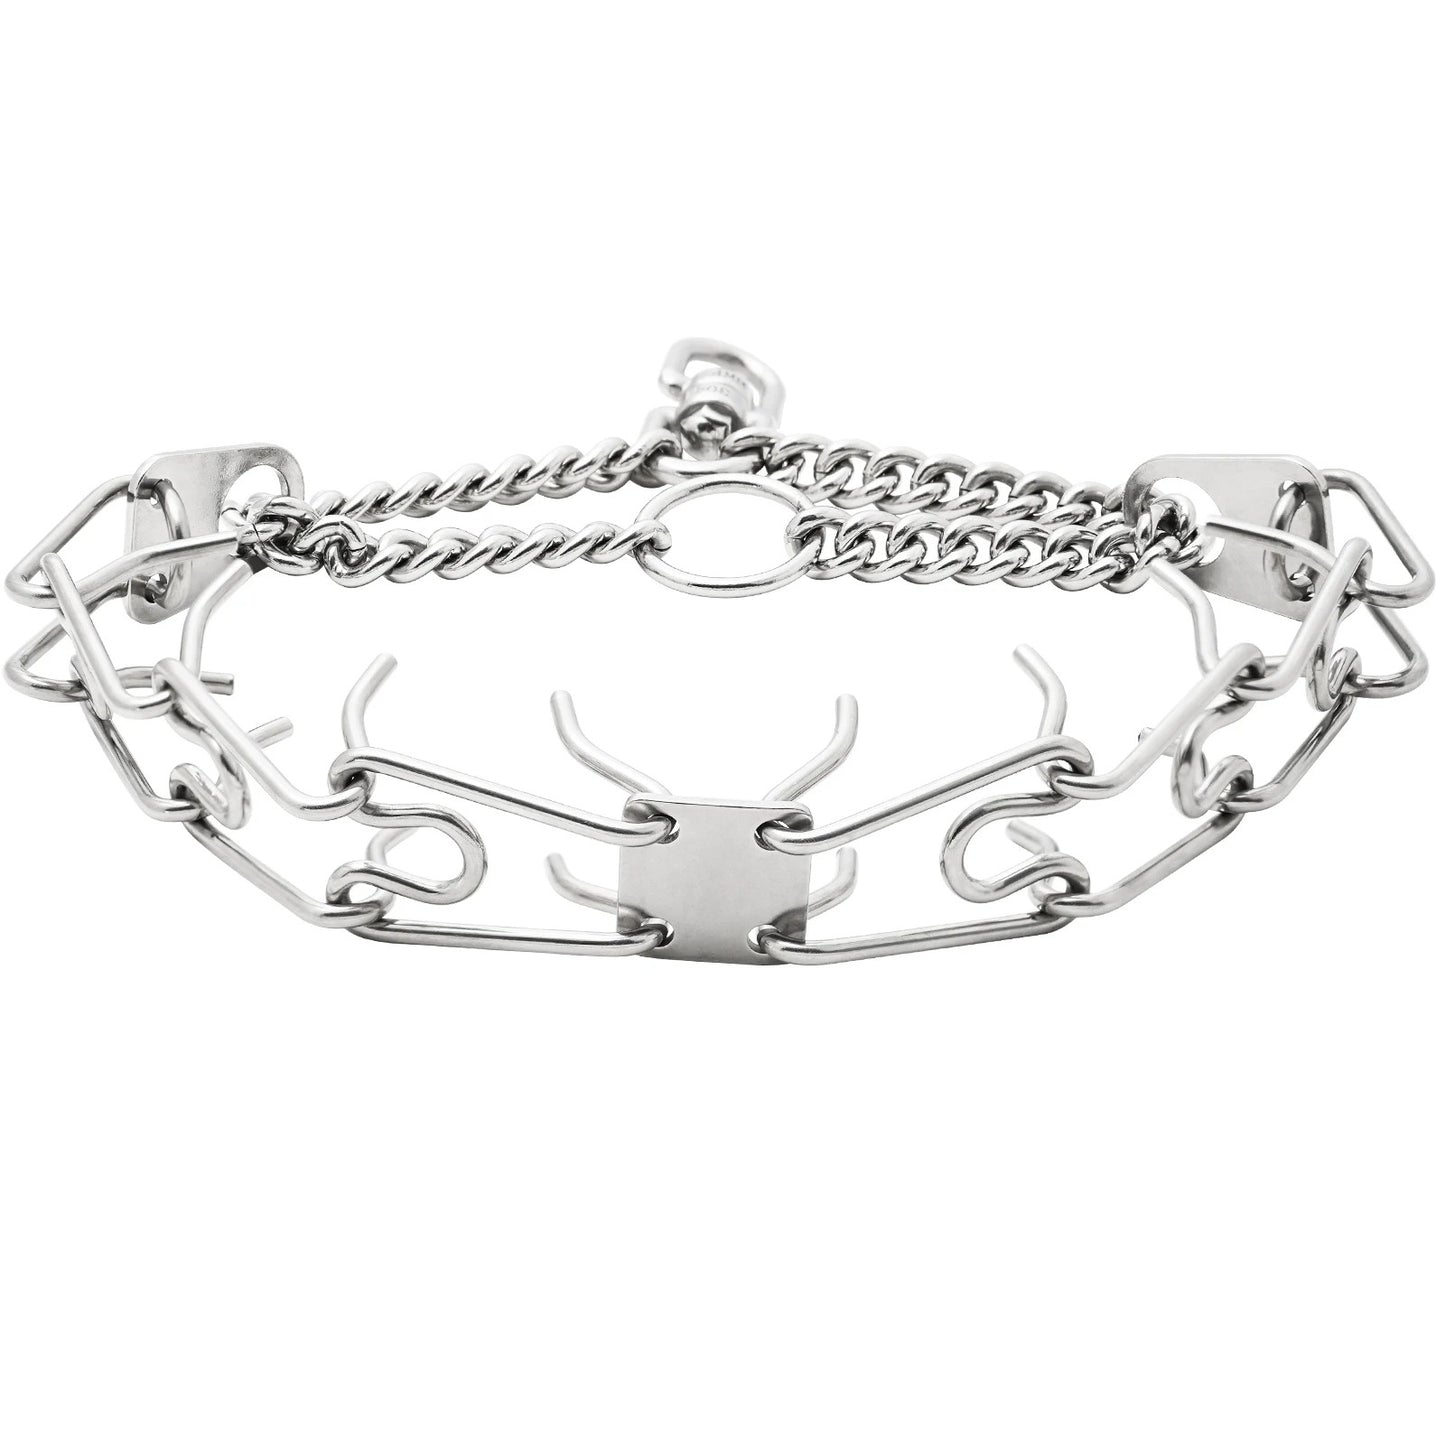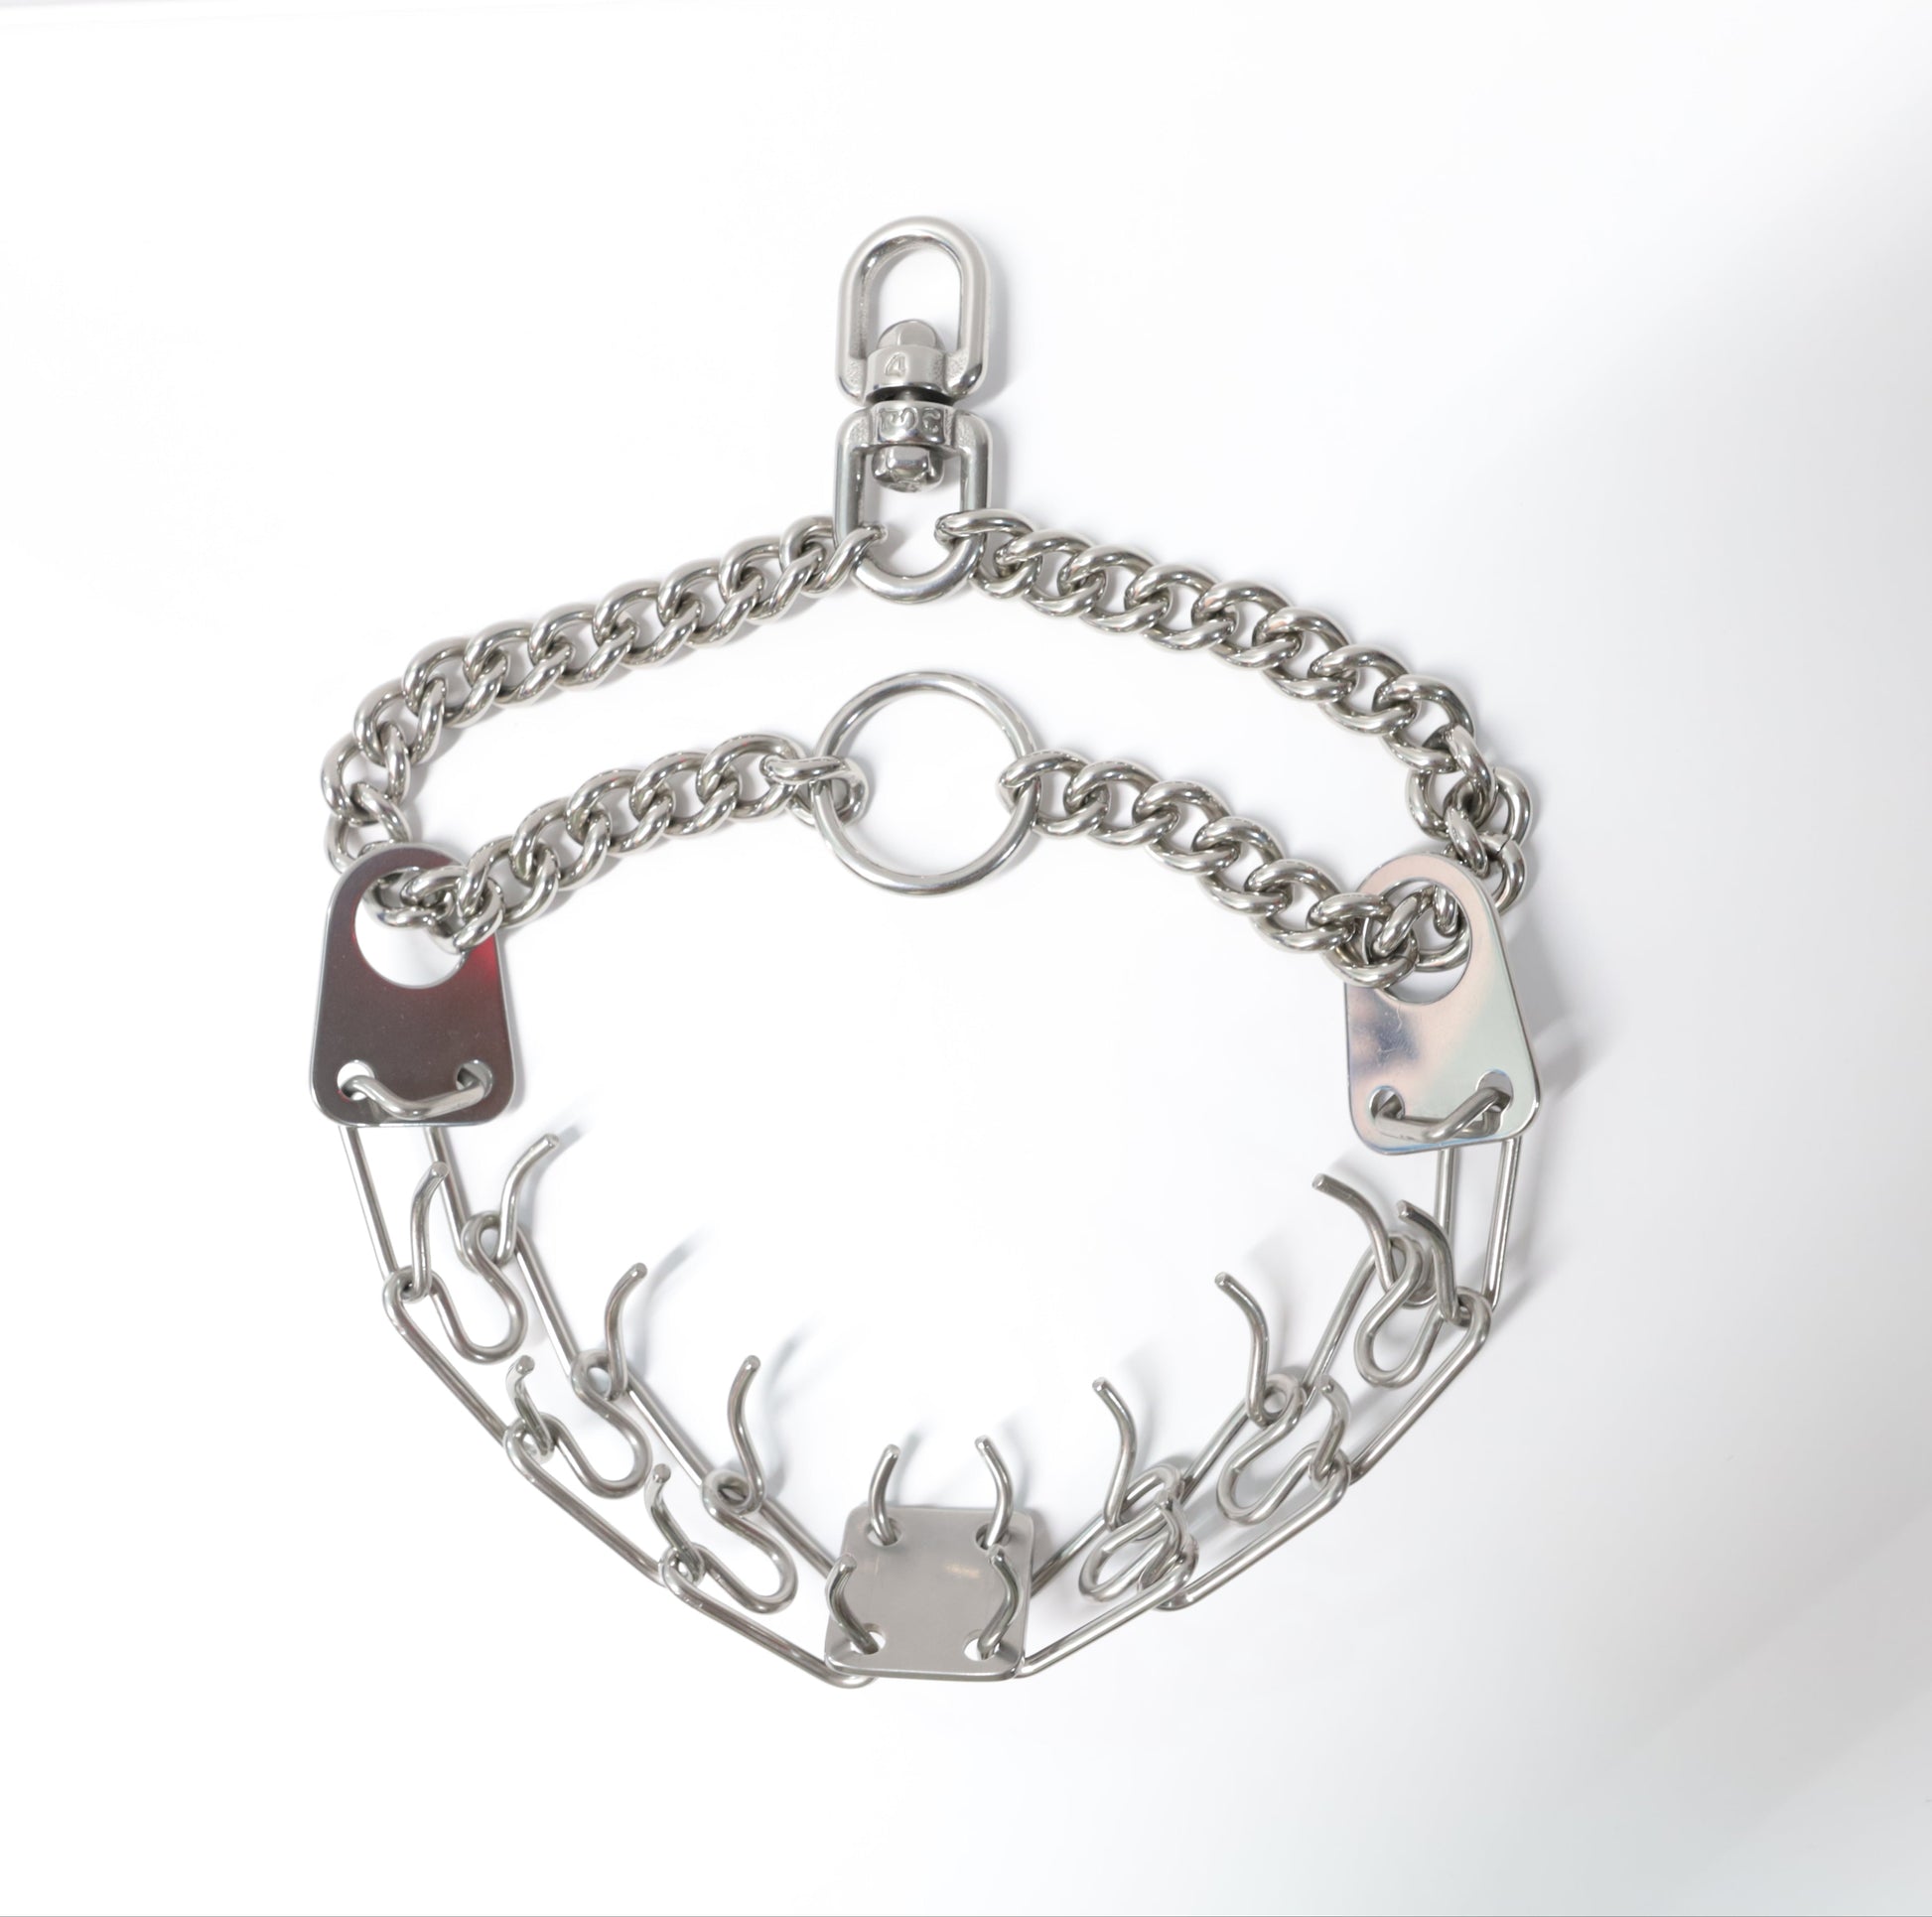
Dog Pinch Collar
Dog Pinch Collar
Couldn't load pickup availability
Stop Leash Pulling On Your Dog Forever
Communication is key when teaching your dog obedience. If you regularly take your dog(s) on walks and wonder why they're constantly out of control and not by your side, it's most likely because your dog doesn’t even acknowledge your presence. With the pinch collar, you’ll be able to communicate with your dog through the pressure of your fingertips, letting them know it's in their best interest to stay by your side.

Communicate With Your Dog Effectively: No longer will you feel like your dog is walking you. Your dog will finally understand and be aware that it’s best to stay in a heel position by your side with the use of effective leash pressure.
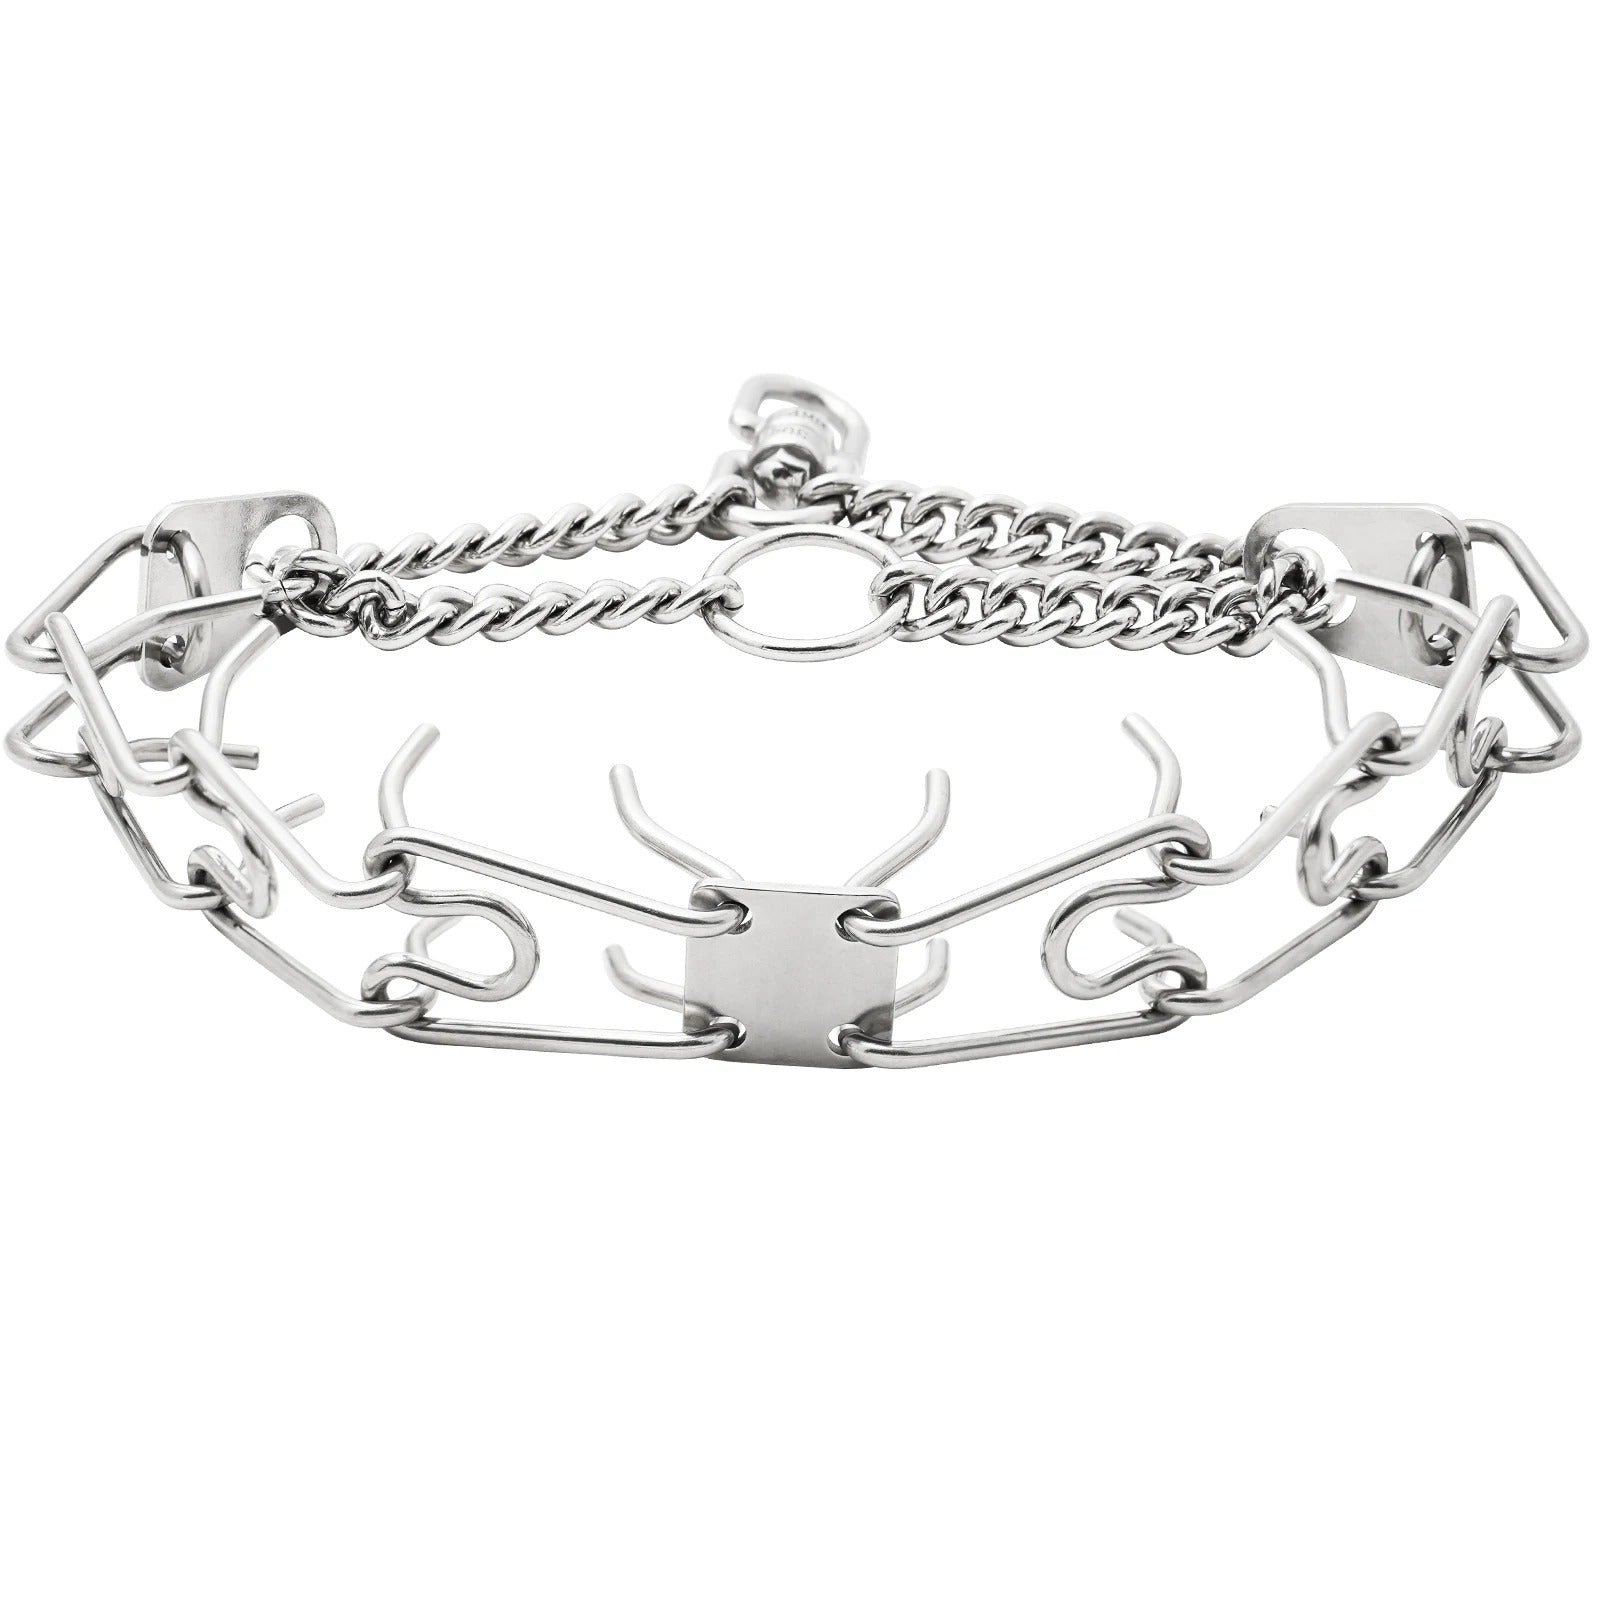
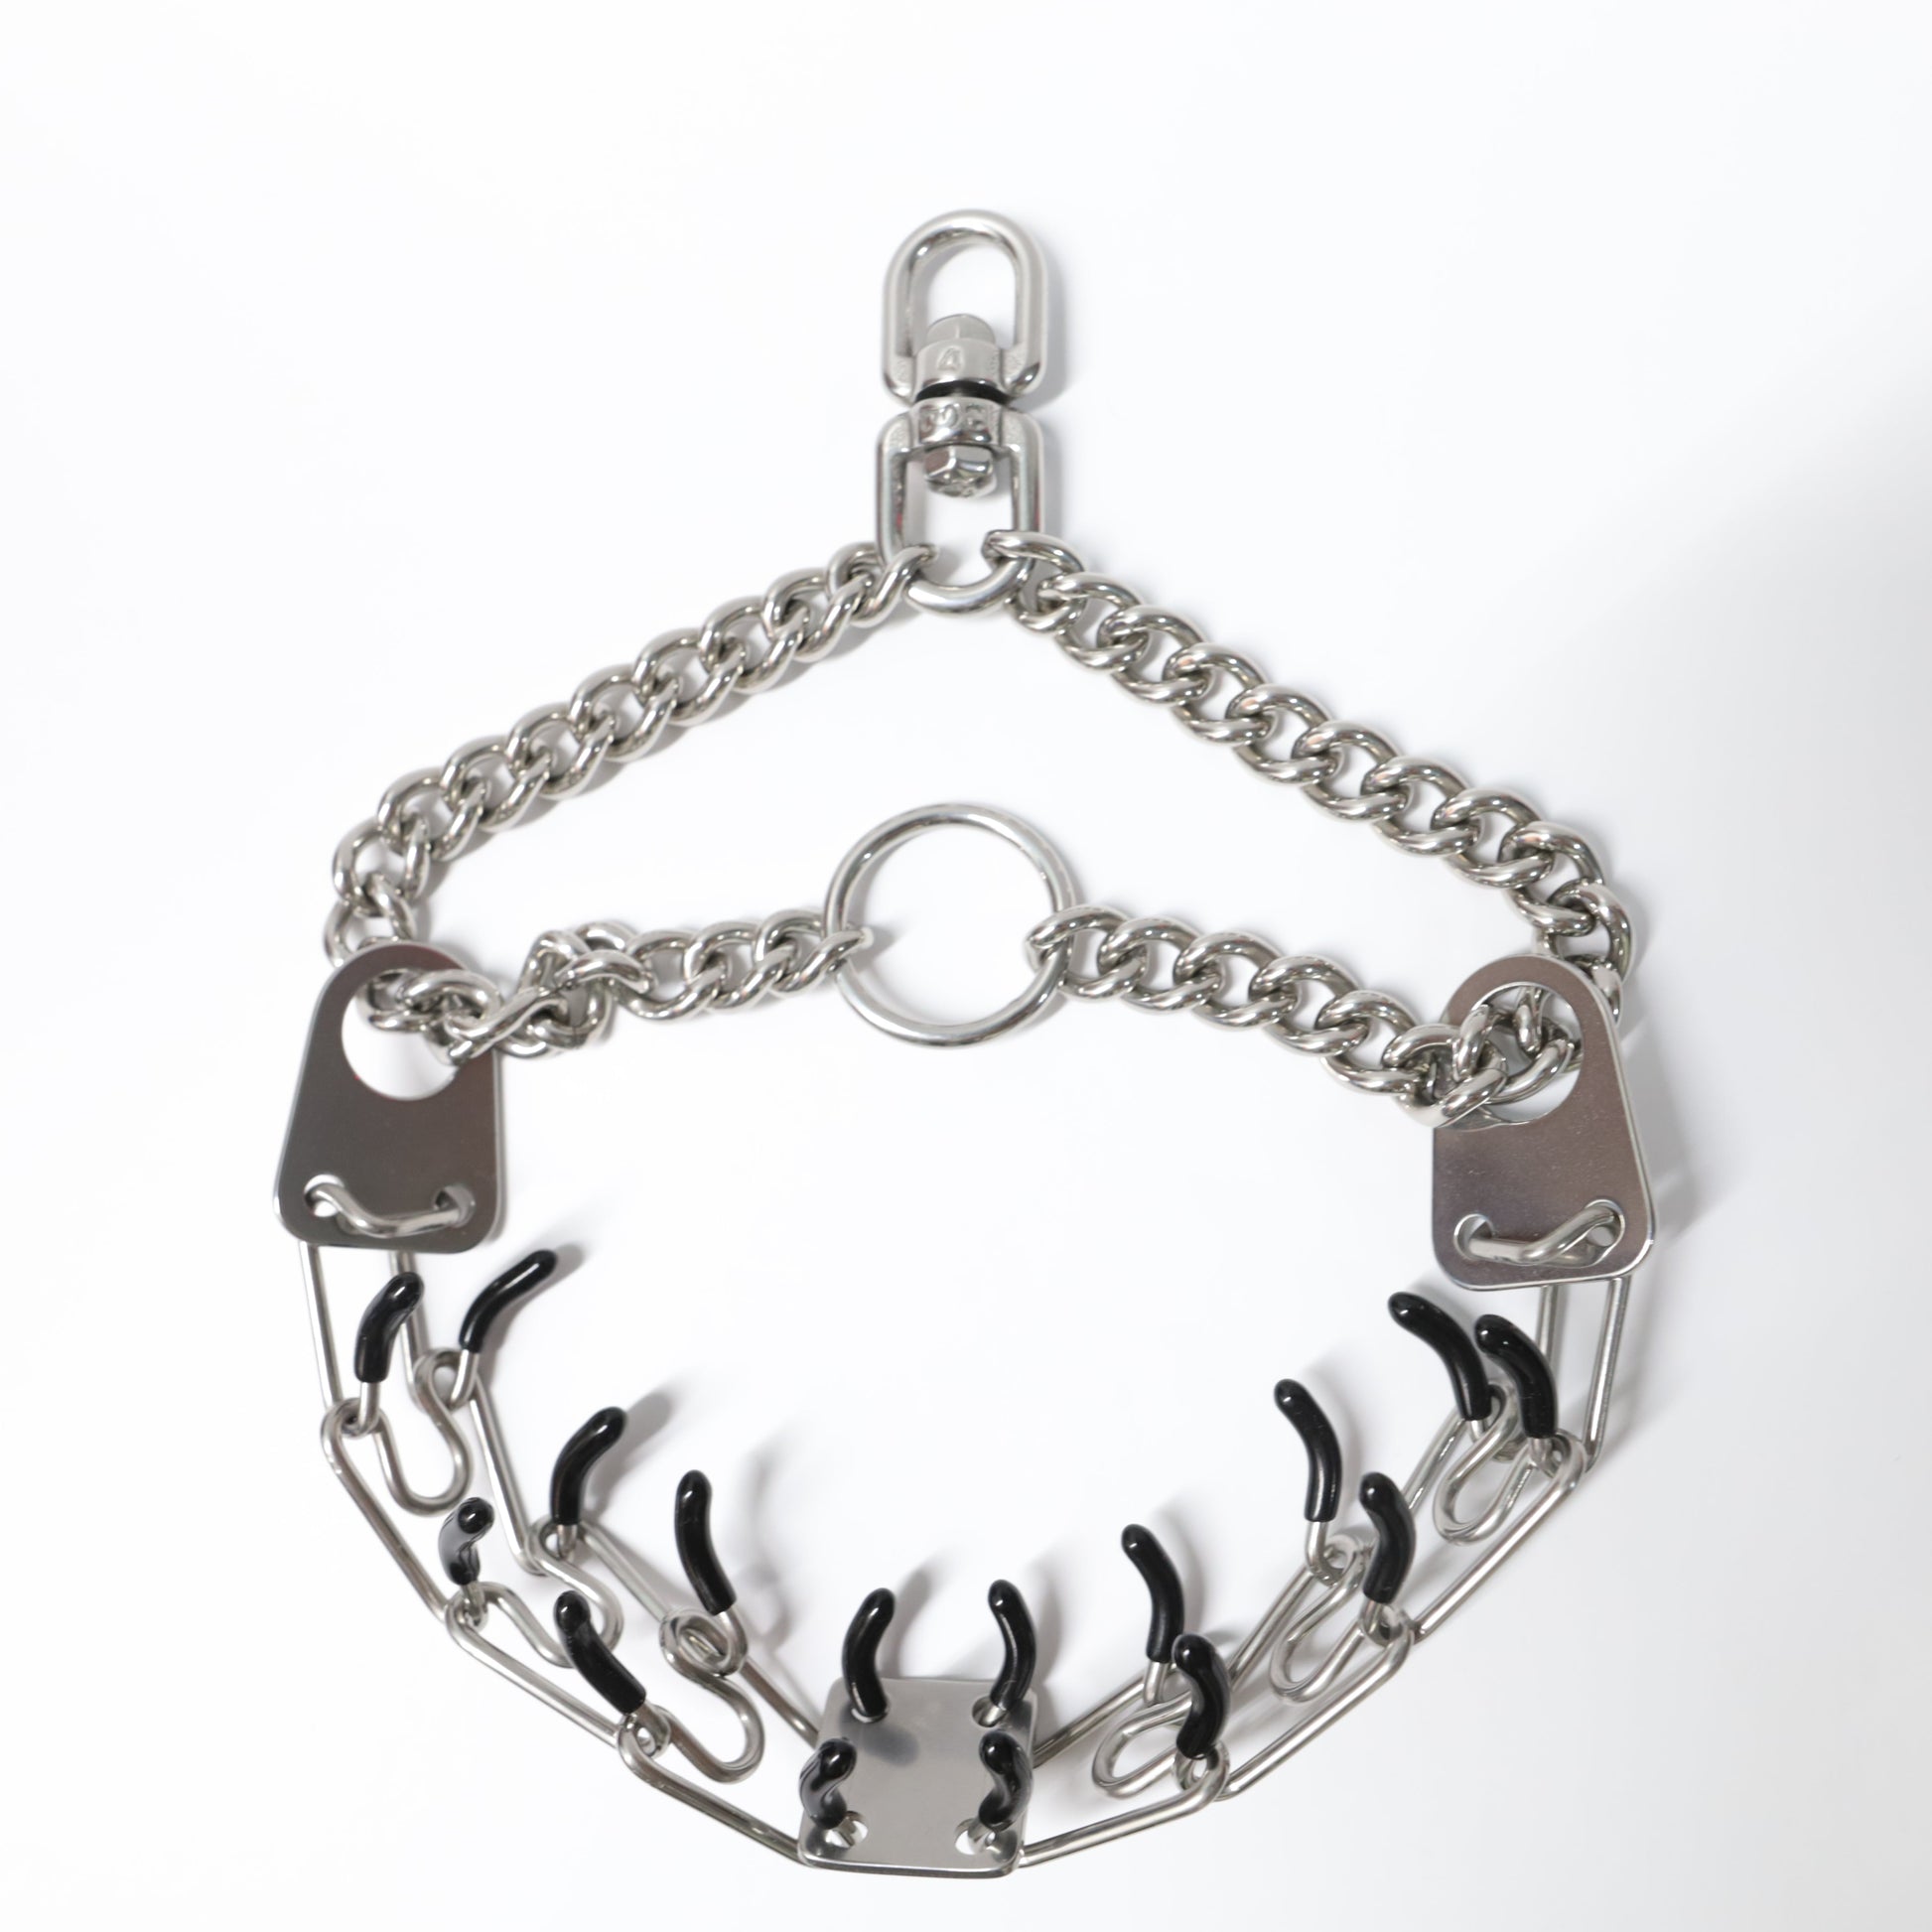
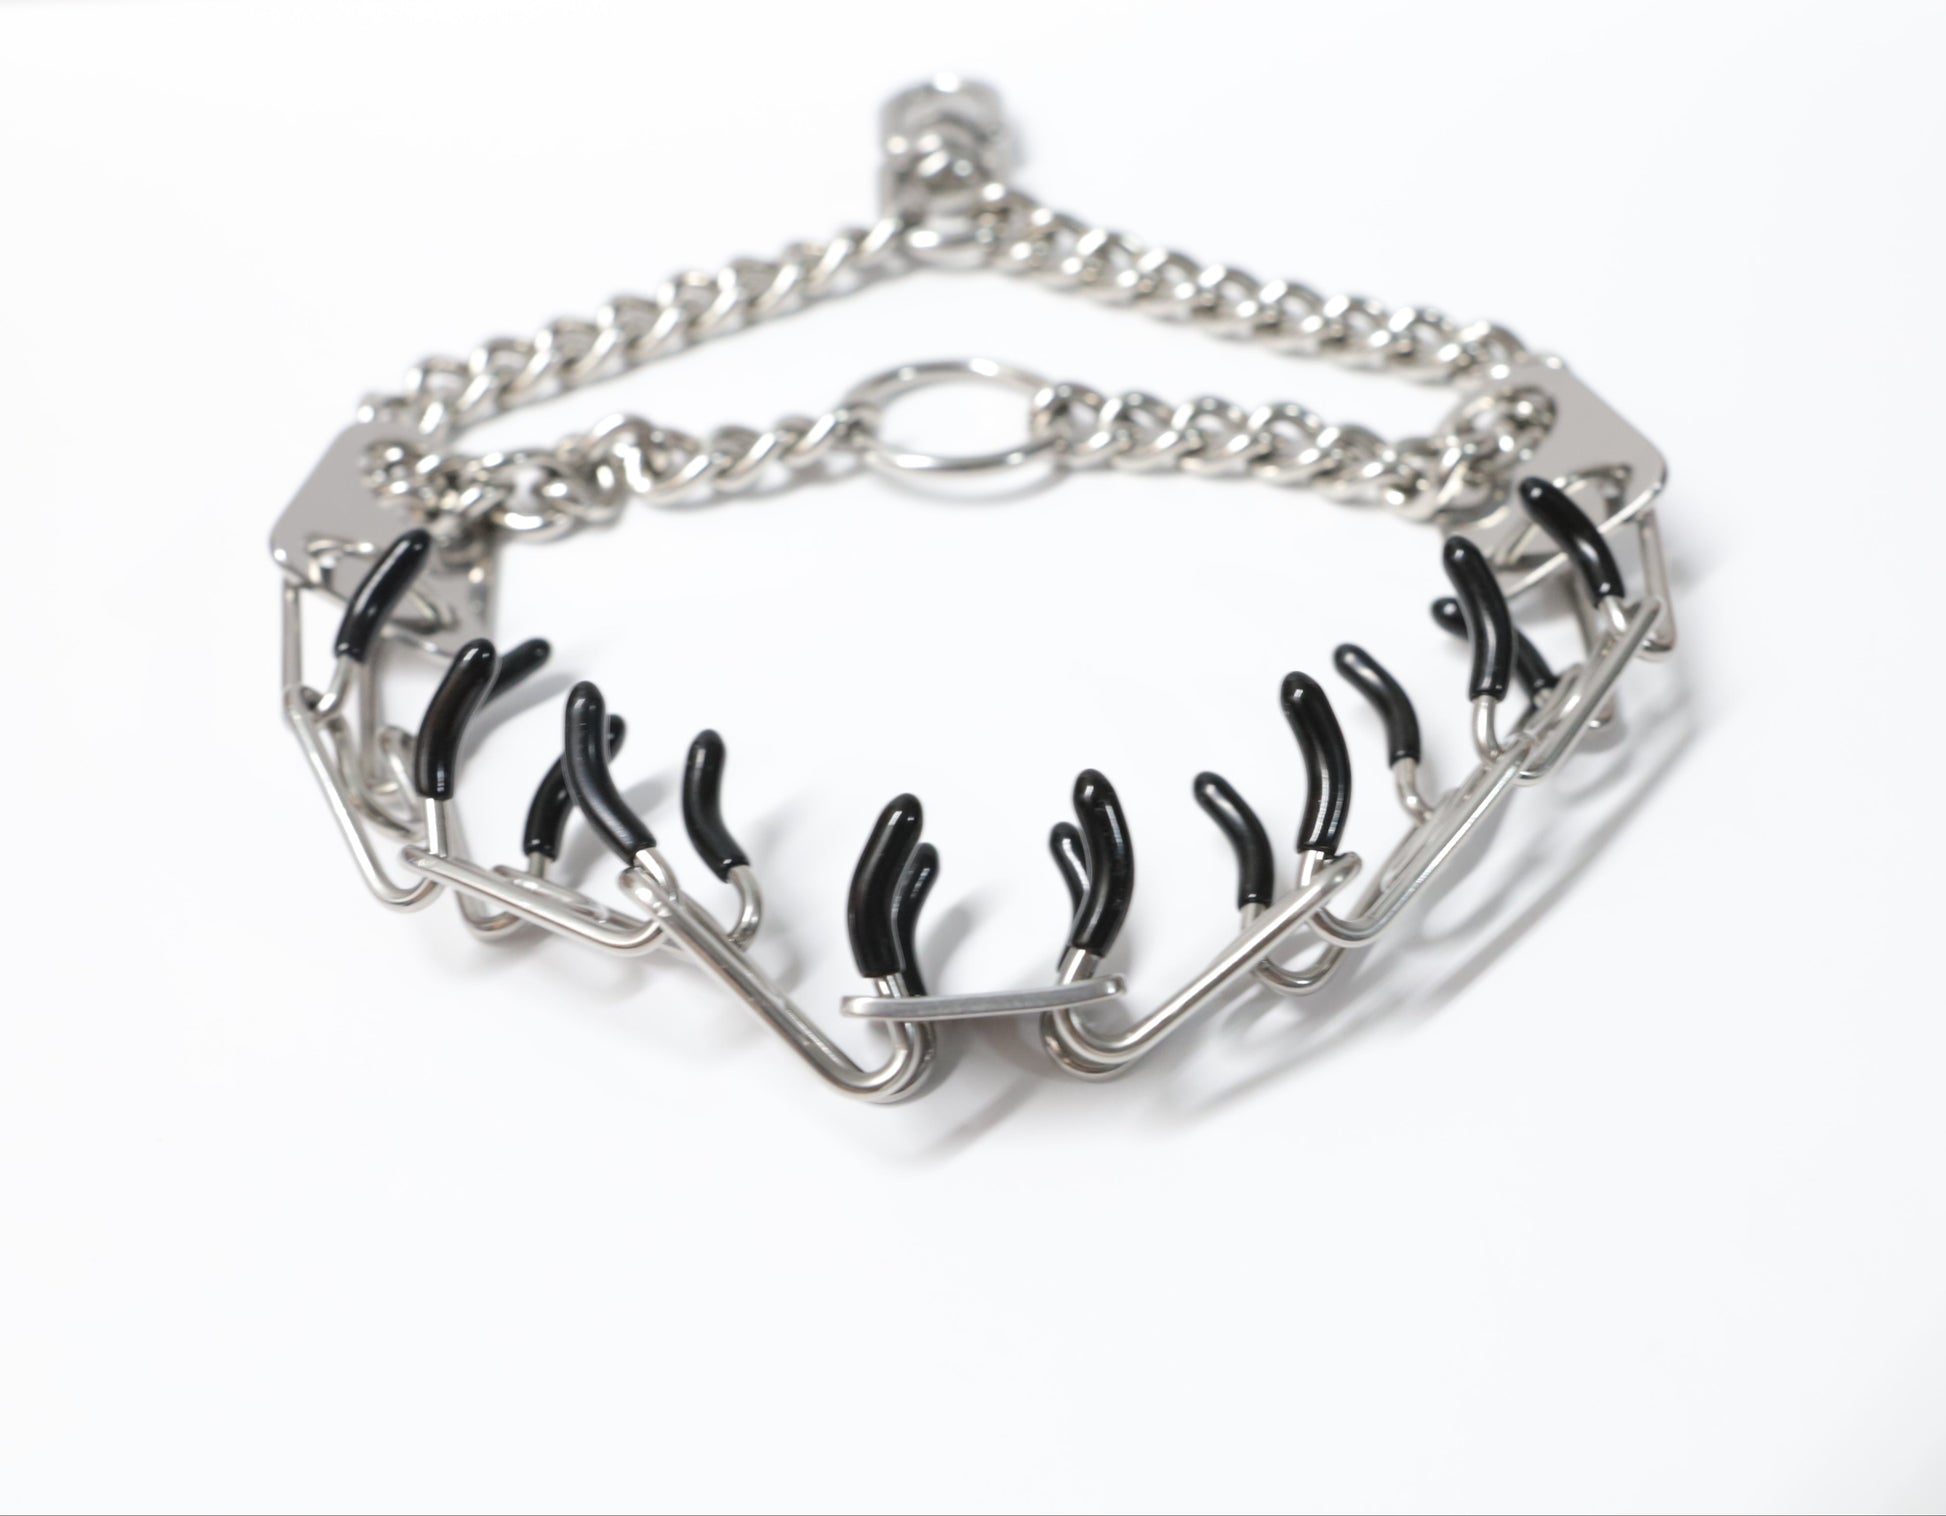
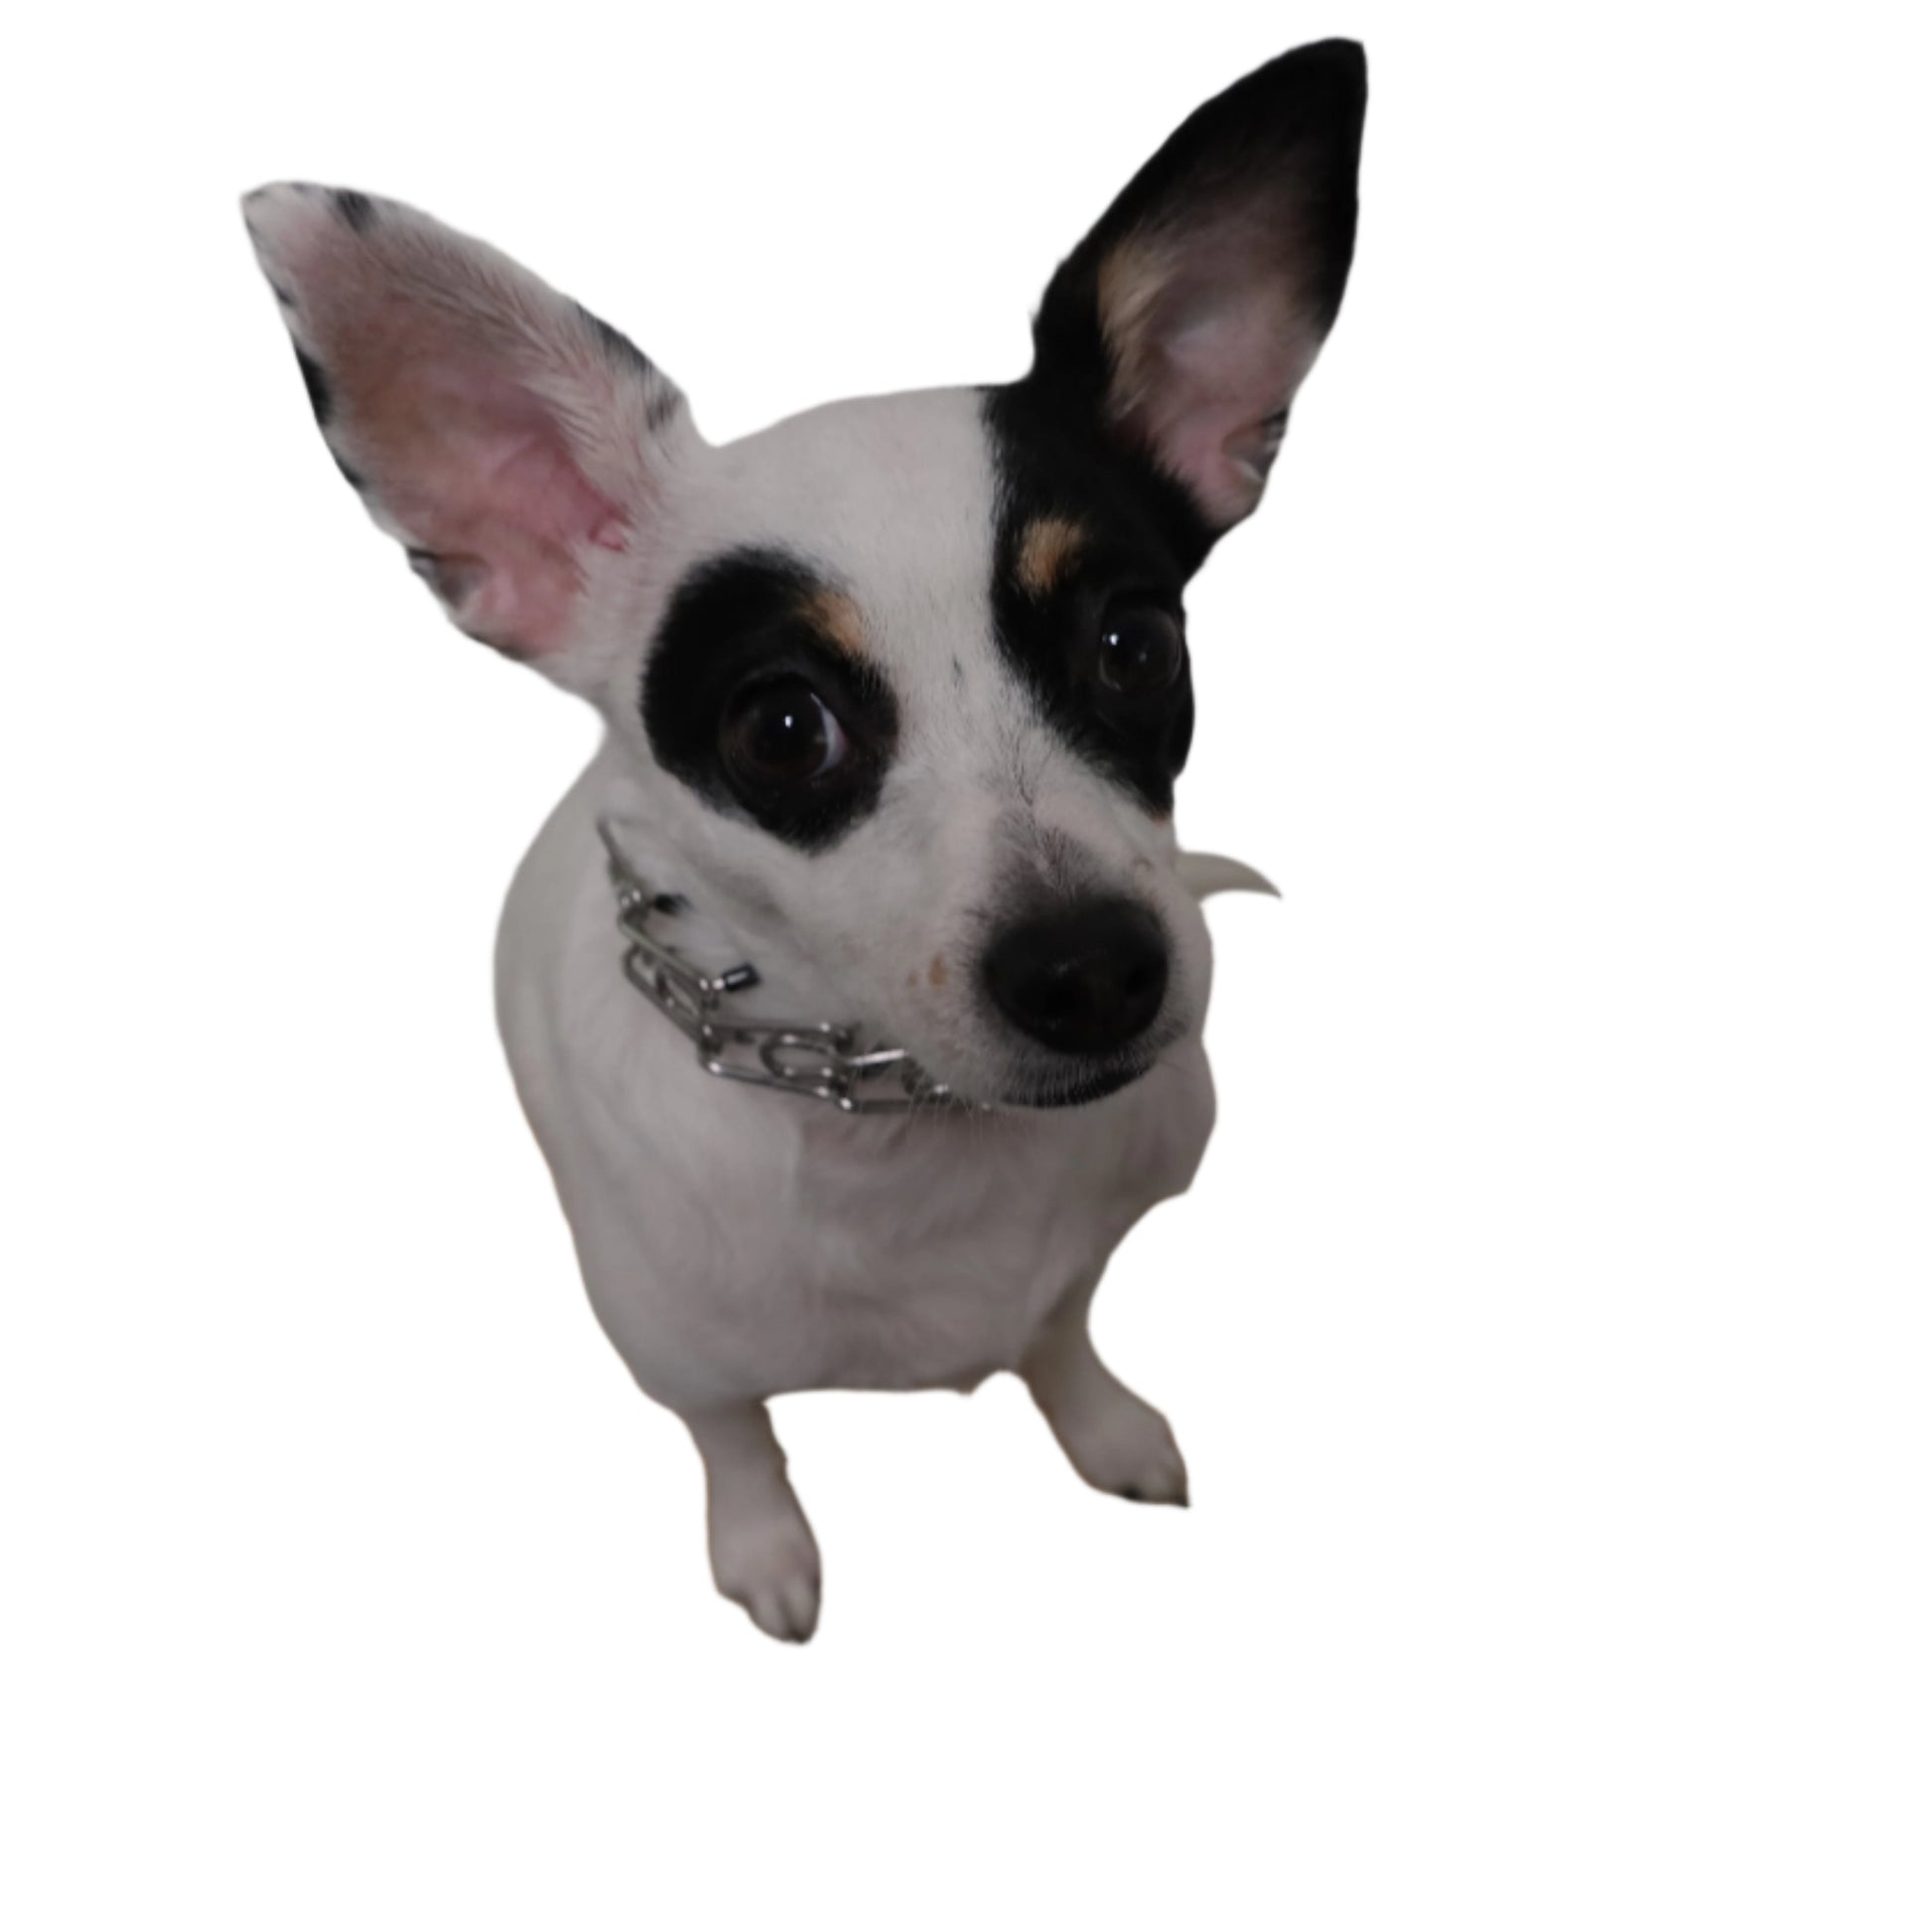
Safer on Your Dog’s Trachea: The pinch collar allows the pressure of the leash to disperse around your dog's whole neck, so it doesn’t concentrate all the pressure on the trachea like most flat collars do.
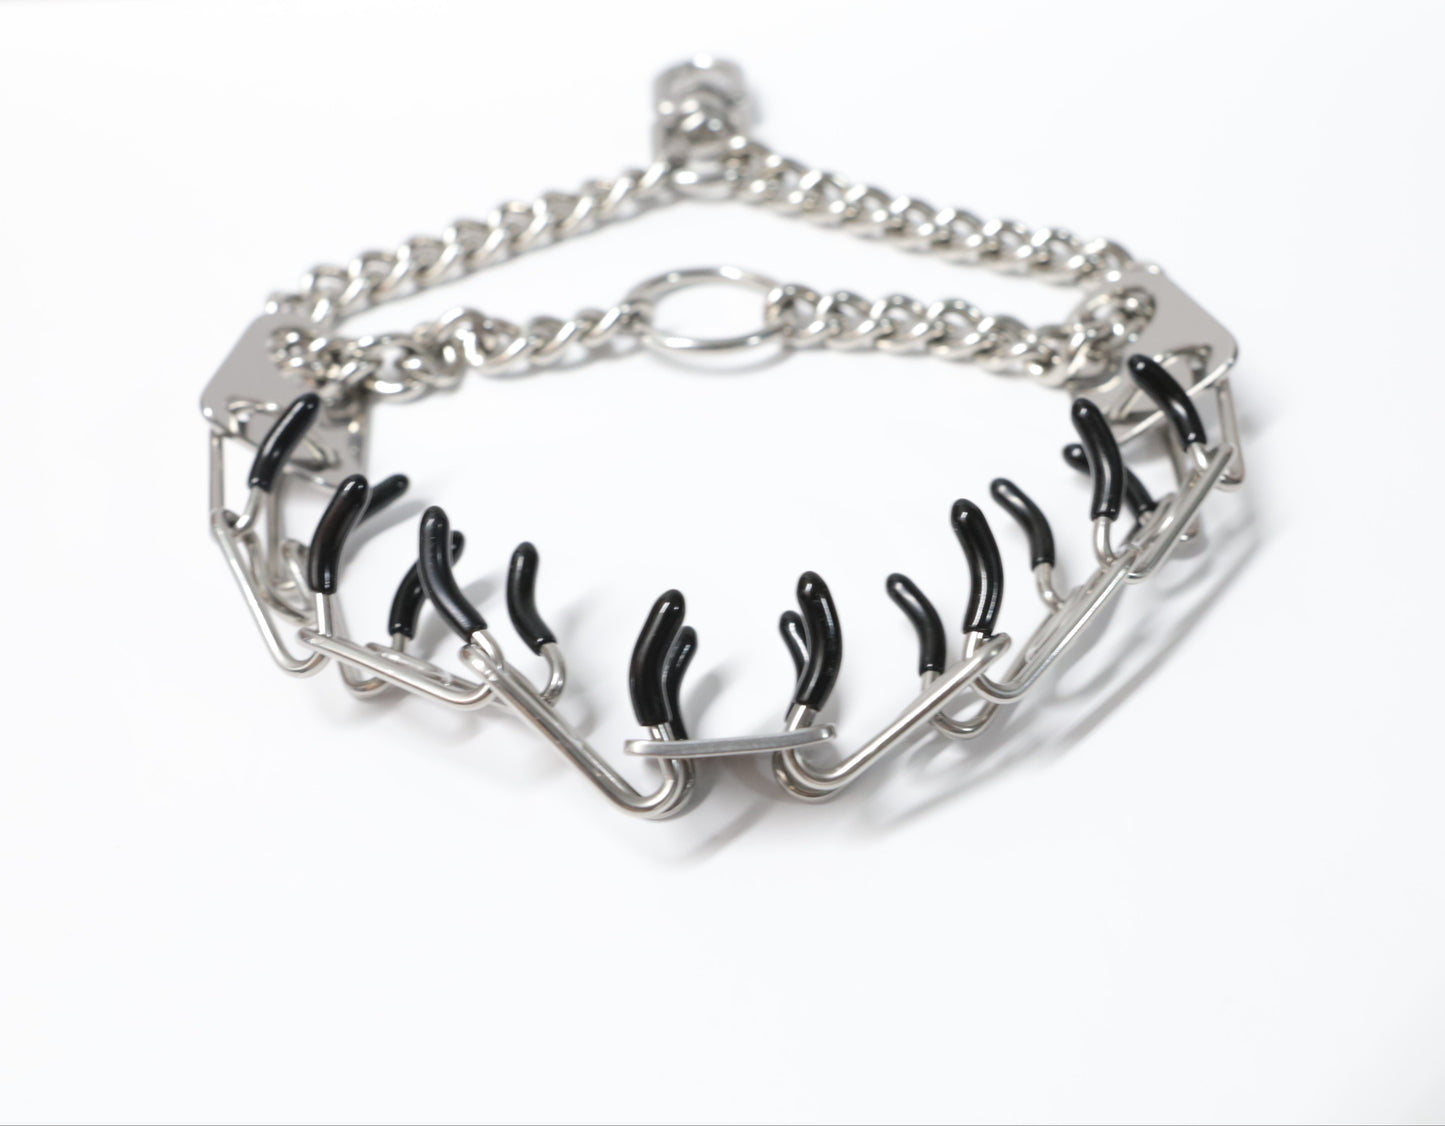
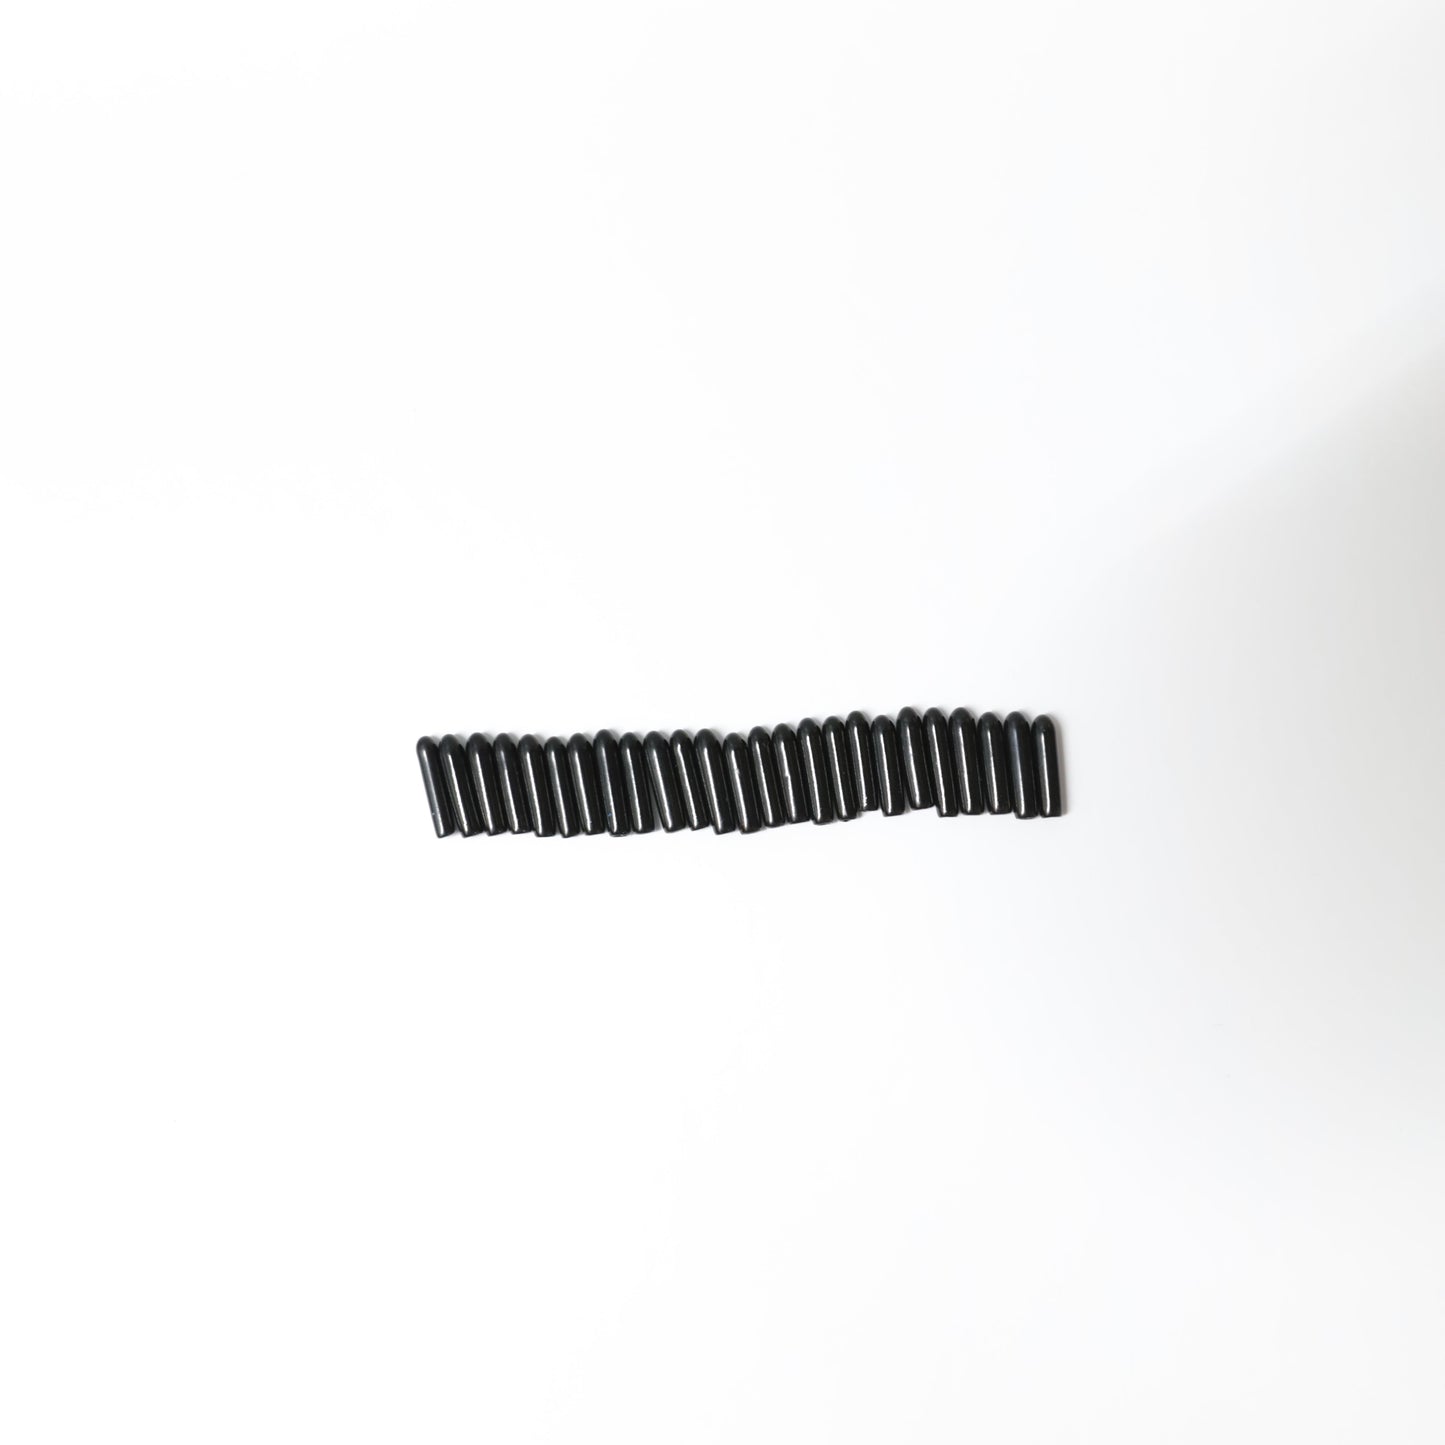
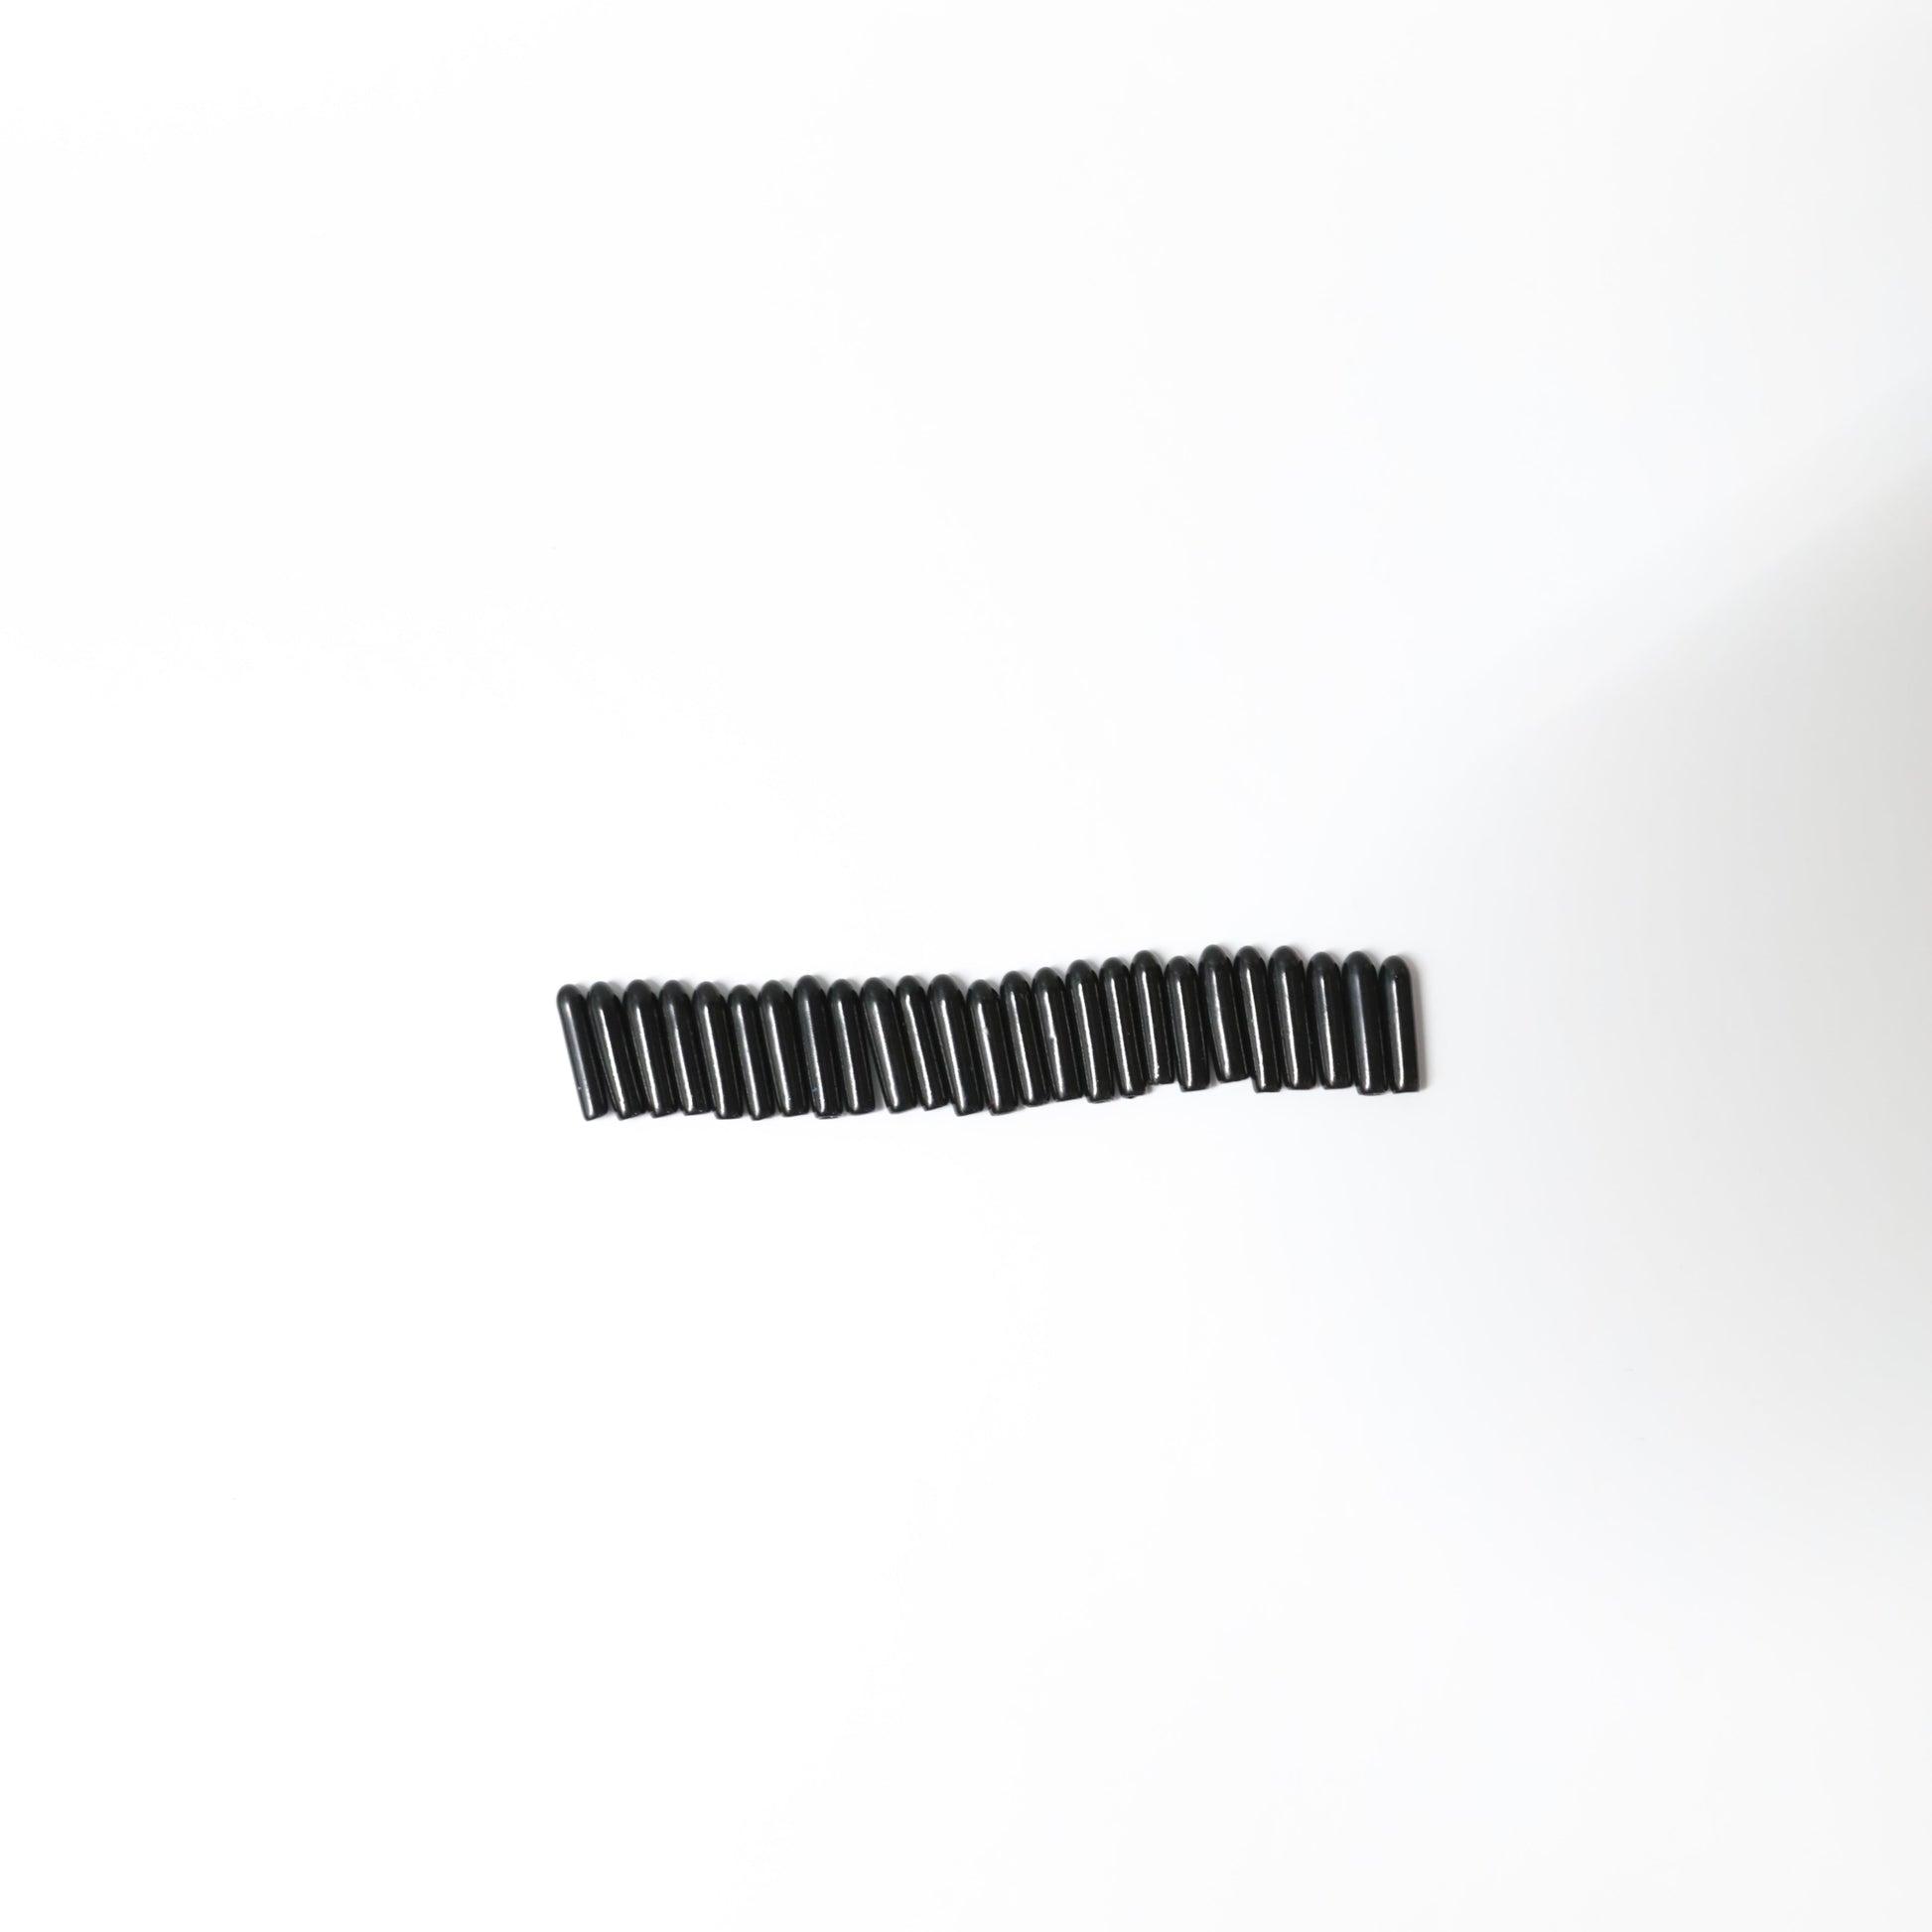
Rubber Safety Tips: Use the rubber tips to prevent redness and irritation; they are especially necessary if your dog has a short coat. The rubber tips are removable.
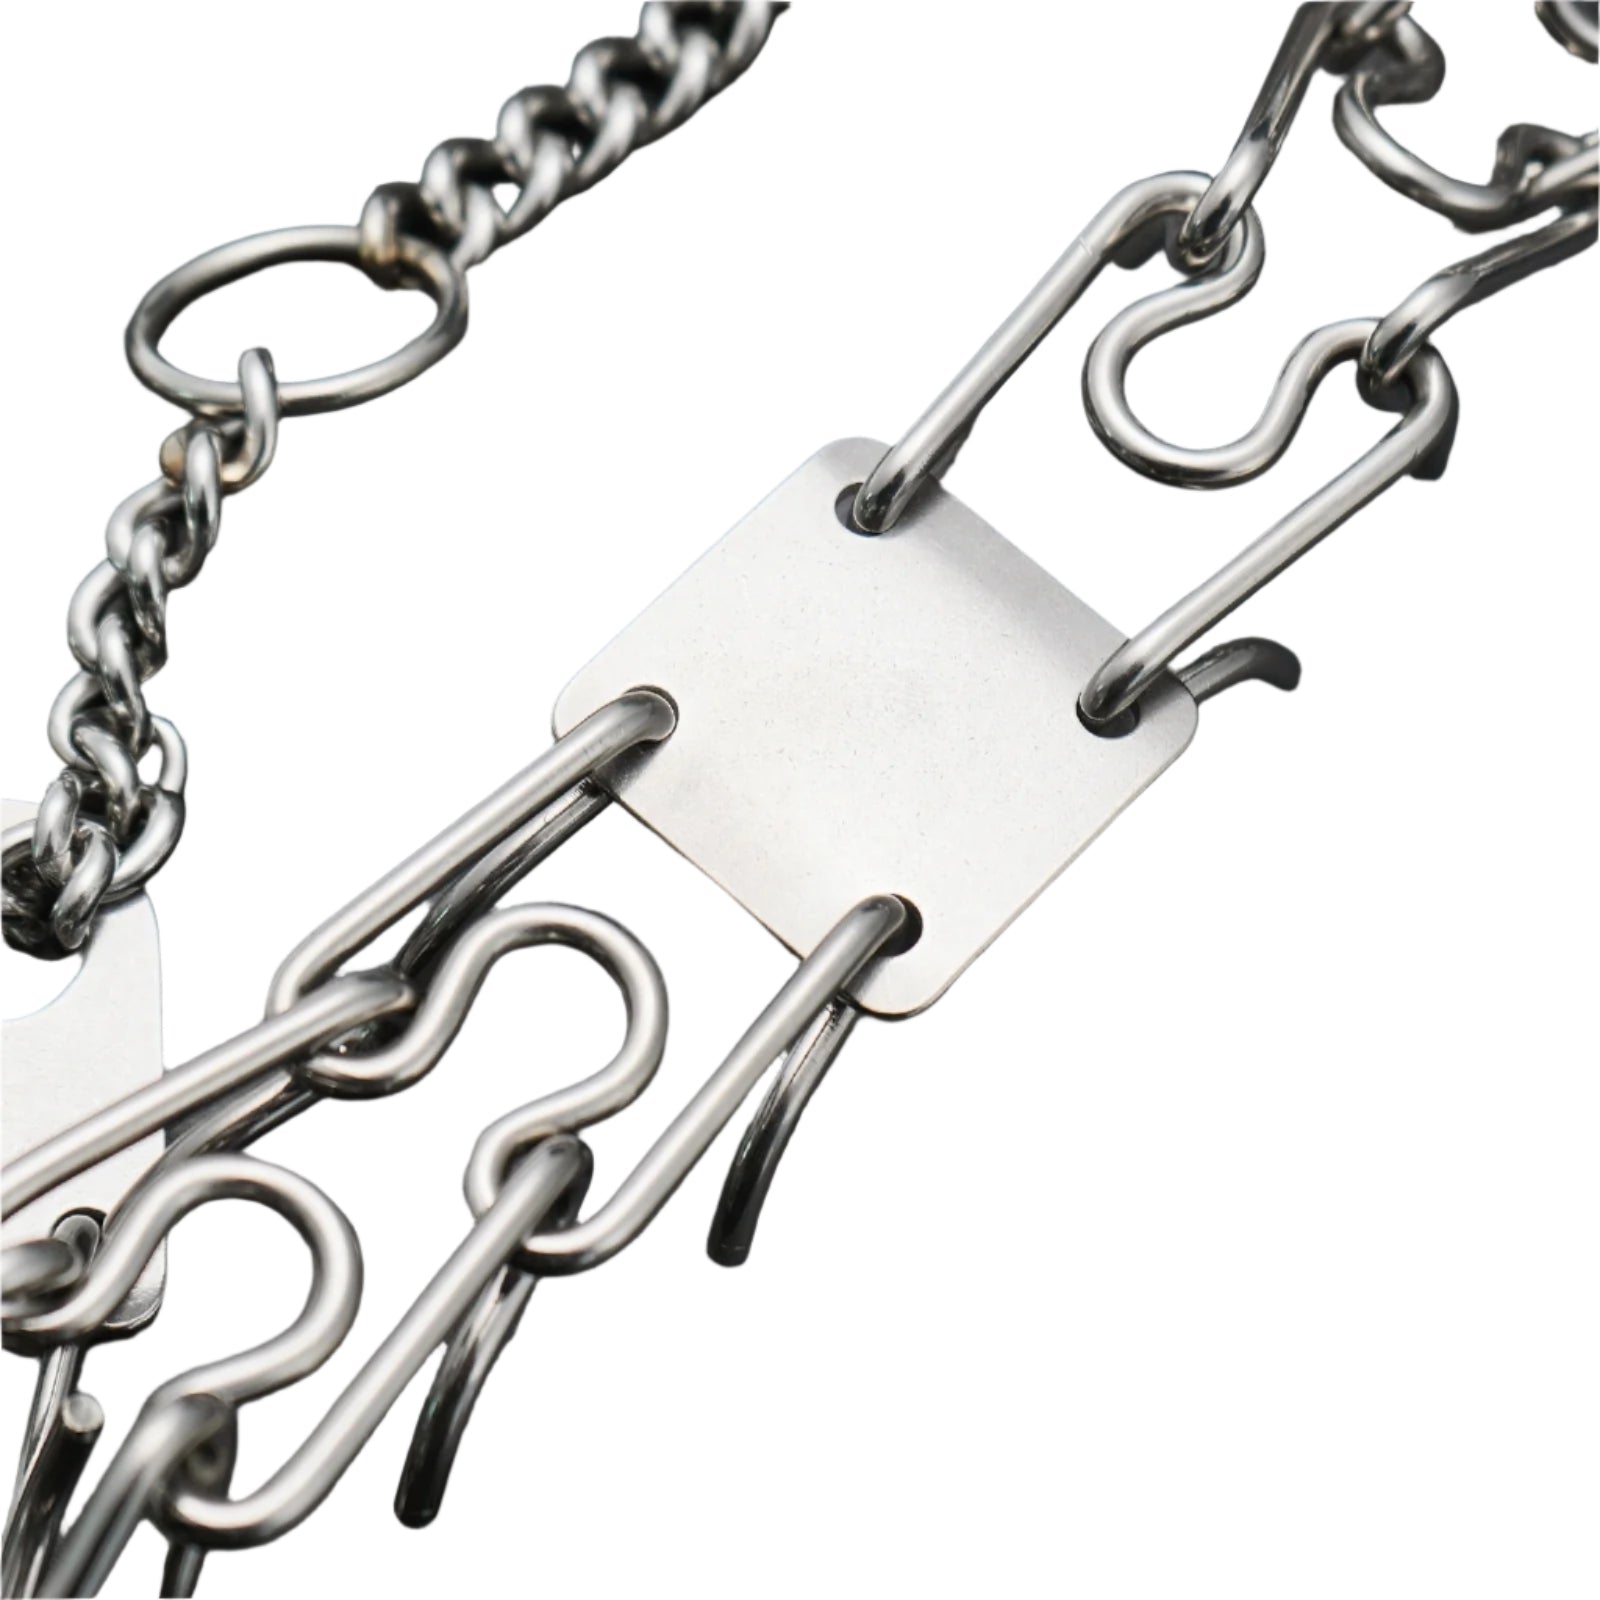
The Perfect Prong Size: The prongs are 2.5mm, the perfect size for most dog use cases. Even professional dog trainers, who train Cane Corsos—an extra-large dog breed—only use a 2.5mm prong. If you don't have enough links, you can purchase more prong links separately on our website to add more prongs.
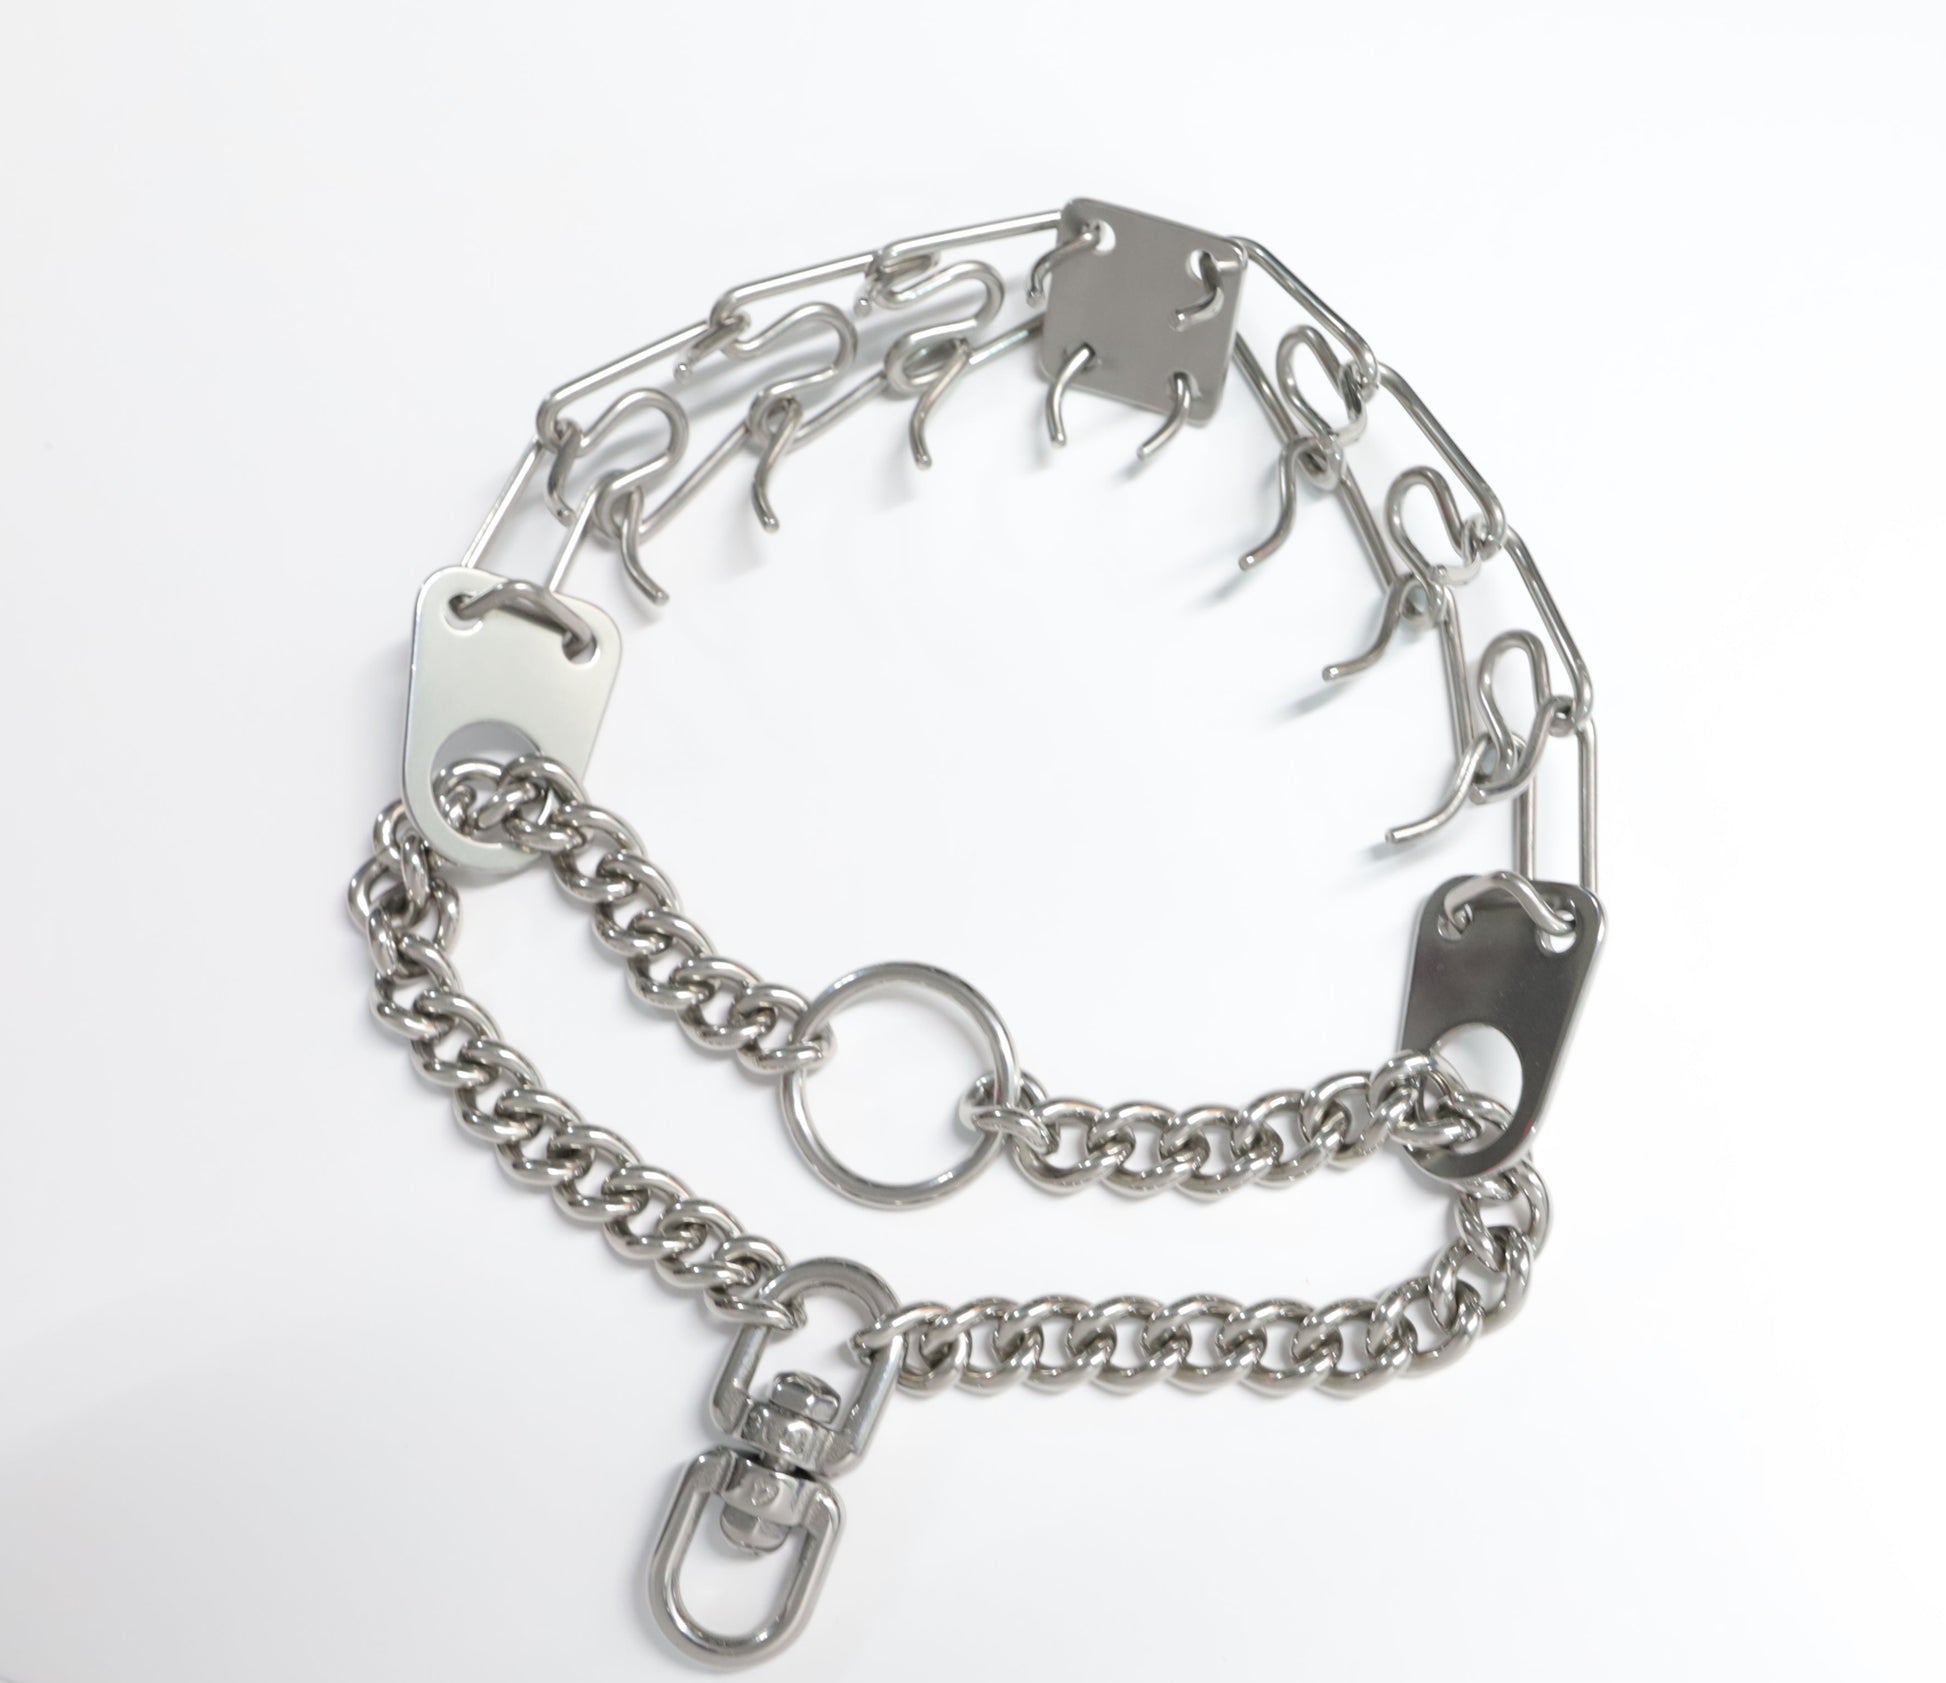
Adjustable Sizing: Each of the prongs on the collar is removable. Ensure you have enough prong links so that it fits snugly just below the ears, while still allowing the collar to rotate 360 degrees.
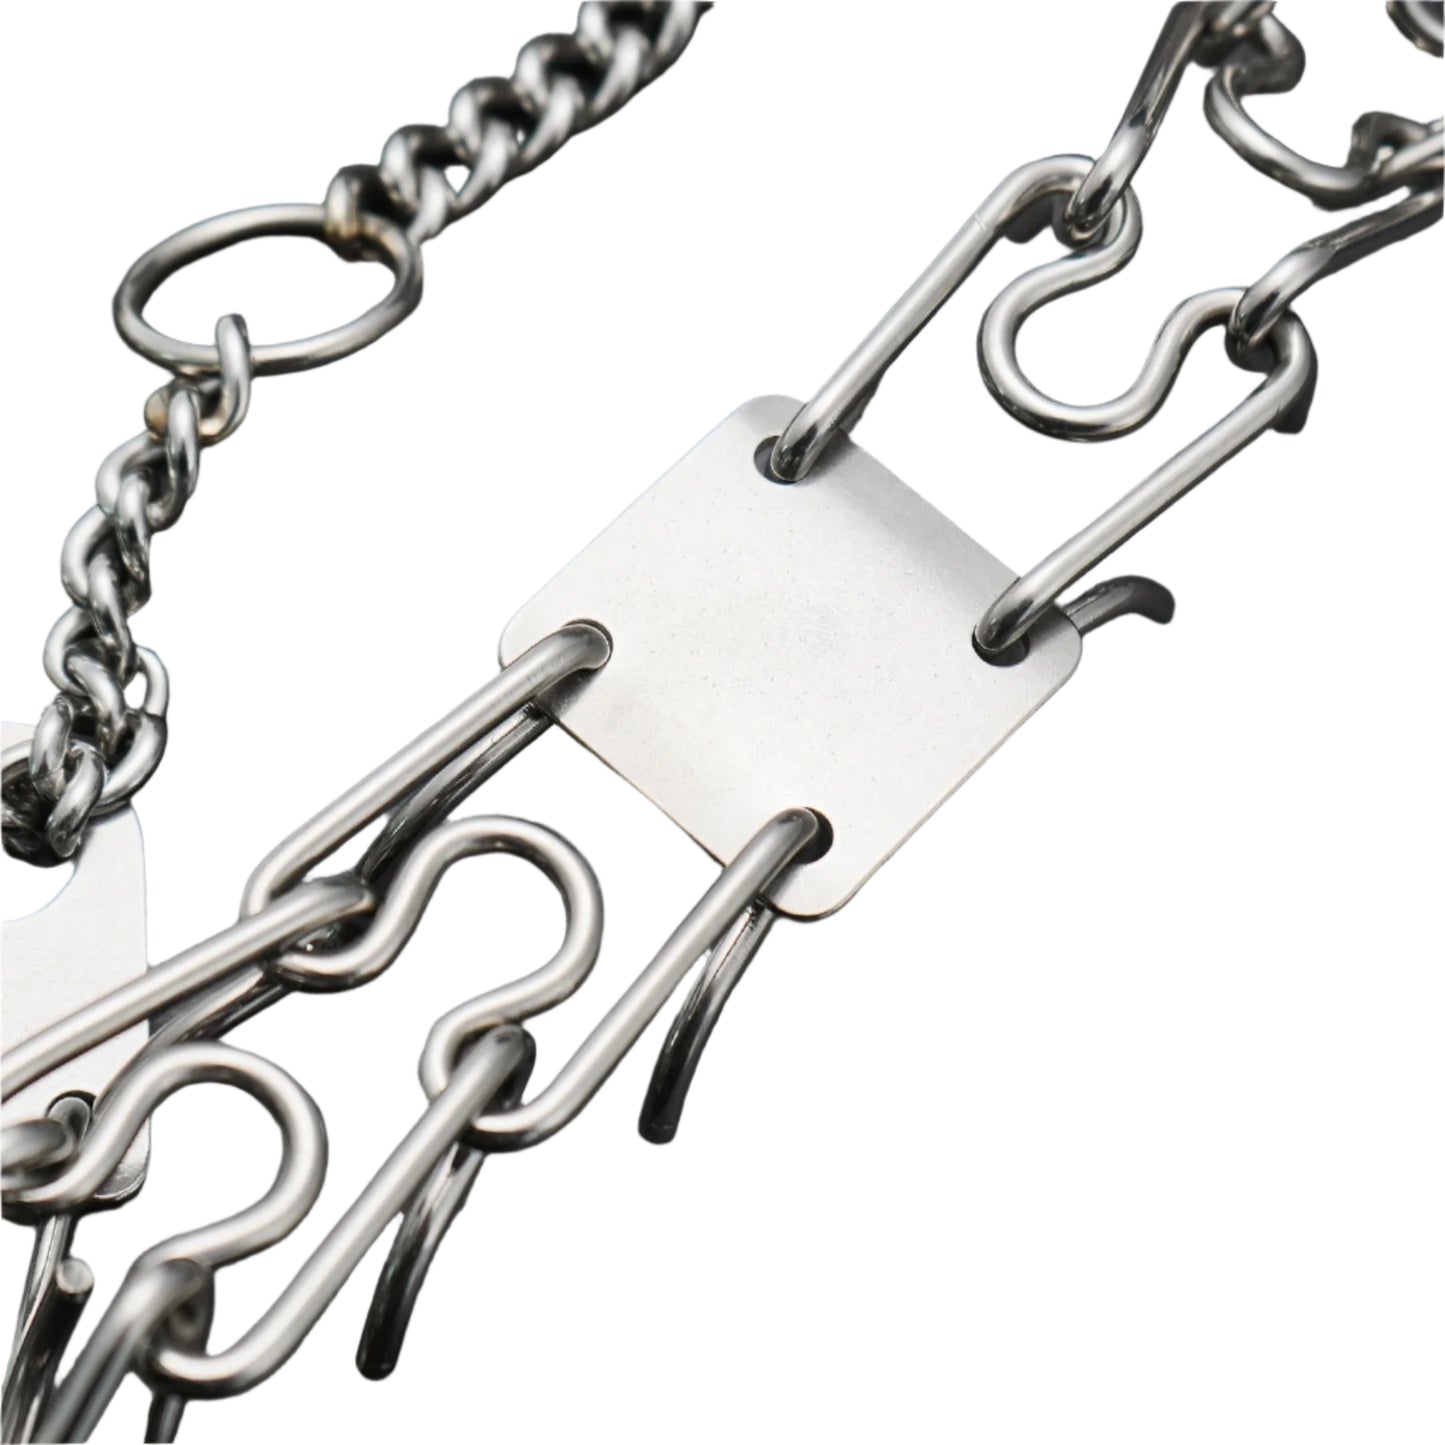
Finger Pinch Removal System: Each prong can be pinched with just the tip of your fingers to adjust and remove the prong collar. This allows the pinch collar to be used anytime and anywhere.

Stainless Steel: This material ensures the collar will last a long time without damage. It’s also generally considered hypoallergenic for most dogs.
Specifications:
15.7 inches worth of pinch collar
2.5mm prongs.
How To Use
The pinch collar is a training tool that can be easily misused. Do not just slap the collar on without proper conditioning.
As dog owners, our job is to make our dogs love the pinch collar every time it's on, and the only way to do that is through proper conditioning.
Step 1: Let your dog blow off some steam—play with your dog, take them on a walk, or do whatever you need to do. A relaxed dog is best for this training scenario since they will be more focused and less chaotic. When first introducing the pinch collar, if your dog is naturally calm, you can skip this step.
Step 2: Take out the pinch collar and let your dog smell it, then reward them with a treat. If this is during their mealtime, you can give them a piece of their food instead. After that, move the pinch collar toward them and reward them if they don’t move away. If they do move back, try again but start from farther away or move the collar more slowly. Repeat this process until you can touch your dog with the pinch collar without any retaliatory reaction.
Step 3: Encourage your dog to put their snout or head through the pinch collar to reach a treat or piece of food on the other side. Reward them as they progressively put their head through it. You can start with all the prong links attached and then lessen the number of prongs to your dog's head/snout size as they become more comfortable.
Step 4: Open the collar as if you are about to put it on your dog, then reward them. After that, place the collar around their neck, right behind the ears and under the jaw, and reward them again. The fit should be loose at this stage since we want them to associate the collar with a positive experience.
Step 5: Remove the collar and reward them only if they remain calm. If they become anxious or reactive, redirect them to a sit or down position, then reward them once they are calm. Repeat the process of putting the collar on and adjusting the fit by removing links as necessary until it fits your dog perfectly.
Perfect fit: The collar should sit right behind the ears and be as snug as possible while still allowing you to twist it slightly when pulling away from the fur with both hands. The snugger, the better, as this minimizes the chances of the collar failing. If you have a smaller dog, such as a Rat Terrier, and struggle with fitting, simply place the collar as close behind the ears as possible.
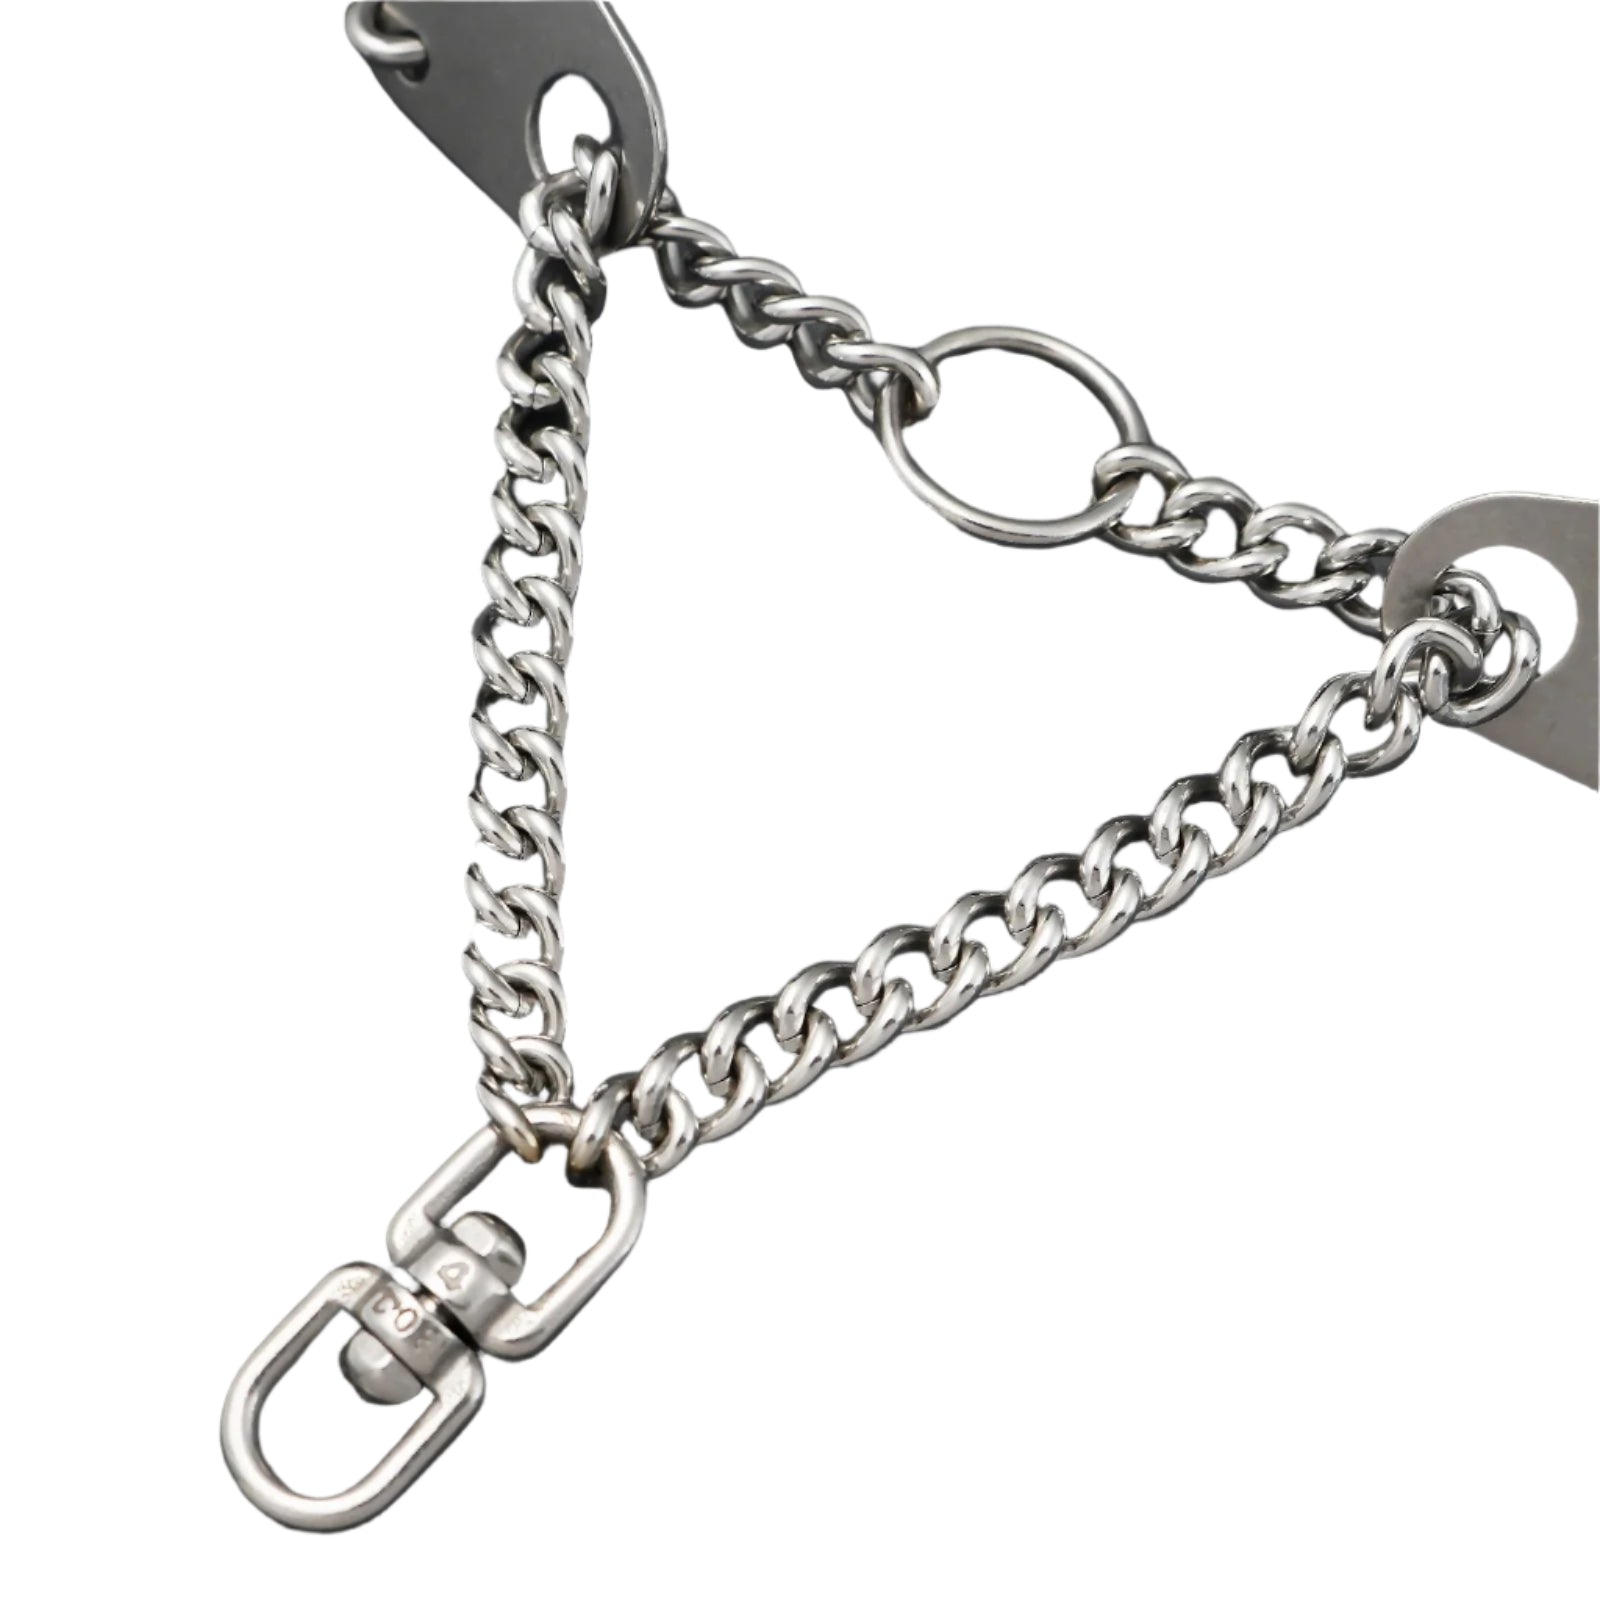
Step 6: Once you can put the collar on your dog without resistance, it's time to introduce leash pressure. Attach a leash to the pinch collar (attach to the one that is not a circle) and a backup martingale collar if you have one. Toss a piece of food out, and once your dog picks it up, create some slack in the leash, then apply a small pop by tugging and immediately releasing. Have a reward ready for when your dog comes to you after the pop. If your dog does not respond, get lower to the ground or move closer, then gradually increase the distance until they reliably respond at the full leash length. When your dog achieves nine successful repetitions in a row, they are proficient and ready to move on.
Final Step: Your dog is now ready for the collar. You can now use the leash pop technique for corrections and directional guidance.
Conclusion: Throughout this entire process, we have conditioned the dog to associate the pinch collar and leash pressure with positive reinforcement. Every dog progresses at their own pace—some will adapt quickly, while others may be more hesitant. Adjust your approach accordingly. For example, you may need to start with the pinch collar farther from your dog's head when introducing it or getting closer and lower when getting them used to leash pressure.
That’s the basics of using a pinch collar correctly!
Message us if you have any further questions through our live chat feature, and we will do our best to assist you!